Bluetooth: Peripheral OTA
1 功能概述
此项目演示了蓝牙从机OTA的功能,该工程在”peripheral”从机例程的基础上增加了OTA的SMP服务,可以通过“nrf connect” APP对设备进行软件升级。
2 环境要求
board: 支持 BLE 的蓝牙设备
uart(option): 用来显示串口log
测试软件: nRF Connect V4.24.3
烧录工具:j-link或panlink
3 编译和烧录
项目位置:zephyr\samples_panchip\bluetooth\peripheral_ota
目前可使用ZAL工具或quick build脚本进行编译和下载。
脚本位置:quick_build_samples\bluetooth\peripheral_ota.bat。
打开脚本后默认会编译项目,编译完成时,可输入字符进行后续下载等操作:
Input the keyword to continue:
  'b' build                         编译项目
  'r' make clean and rebuild        重新编译项目
  'f' flash download                下载
  'e' erase chip                    擦除芯片
  'o' open project by VS Code       打开 `VS Code`,可查看源码,执行编译下载等
  others exit                       退出
wait input:
烧录:
本文档使用的是segger j-flash烧录,烧录流程可参考j-flash烧录使用文档。以下流程的前提是j-flash中已经 添加了PAN1080的芯片配置,而且能通过j-link正常连接PAN1080 EVB板。
擦除flash
这里芯片的flash全部擦除
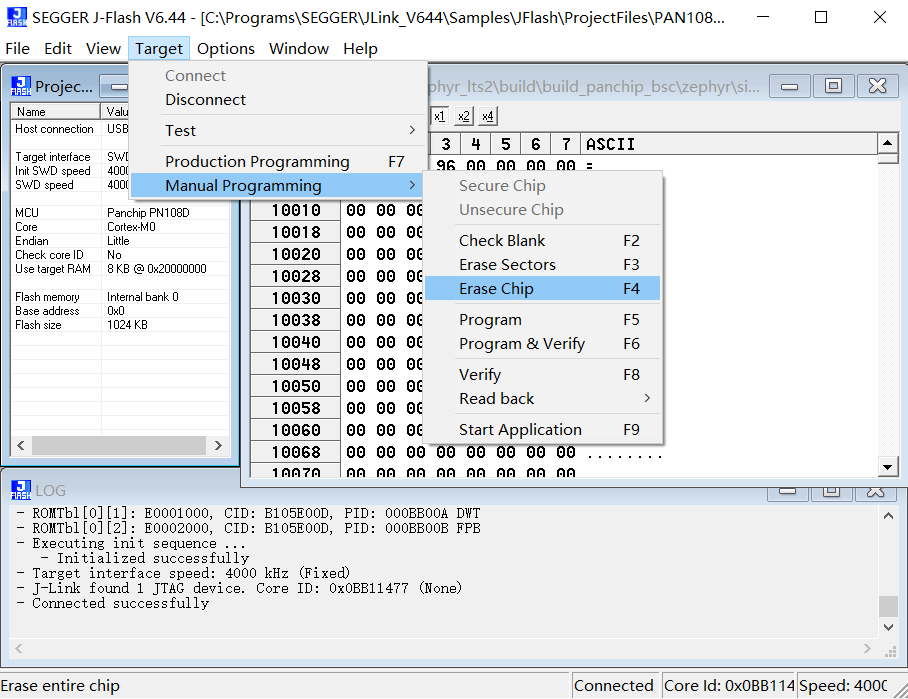
使用 J-Flash 擦除全部Flash
烧录boot
boot程序目录“zephyr\samples_panchip\bluetooth\peripheral_ota\boot\zephyr_boot_V1.0.bin”。boot程序从0x0地址开始烧录。如下图所示:
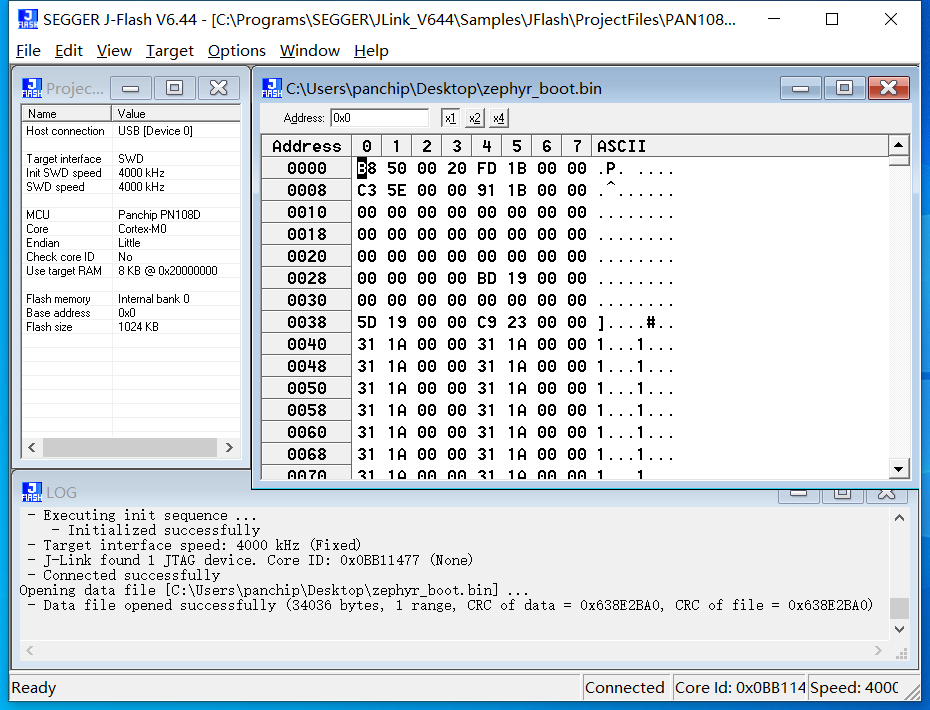
使用 J-Flash 烧录bootloader程序
应用程序签名
将编译后的zephyr.bin文件进行签名,打开powershell执行如下命令
python bootloader\mcuboot\scripts\imgtool.py sign --key bootloader\mcuboot\root-rsa-2048.pem --header-size 0x200 --align 8 --version 1.0 --slot-size 0x60000 --pad --confirm build\build_peripheral_ota\zephyr\zephyr.bin build\build_peripheral_ota\zephyr\signed1.0.bin

使用imgtool对Zephyr App进行签名
烧录应用程序
将签名后的应用程序“signed1.0.bin”。应用程序从0x10000地址开始烧录。如下图所示:
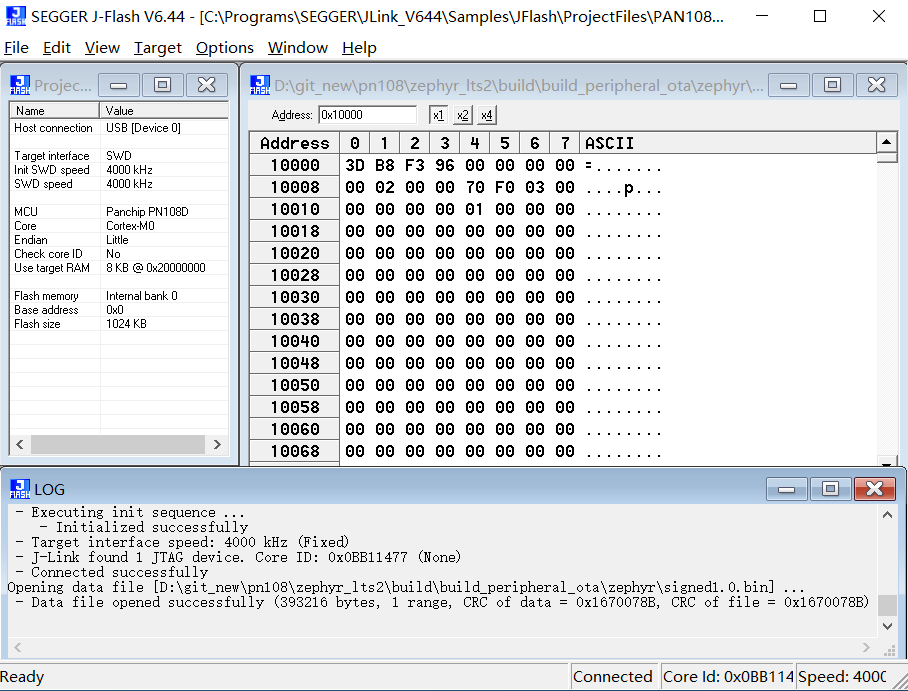
使用 J-Flash 烧录签名后的Zephyr App程序
烧录完重新上电,PAN1080 EVB板的程序就可以正常运行起来了。
制作OTA程序
在“prj.cof”文件中将蓝牙设备的名字改成”Zephyr Peripheral Ota Test”,然后编译。
CONFIG_BT_DEVICE_NAME="Zephyr Peripheral Ota Test"
将编译后的zephyr.bin文件进行签名,打开powershell执行如下命令
python bootloader\mcuboot\scripts\imgtool.py sign --key bootloader\mcuboot\root-rsa-2048.pem --header-size 0x200 --align 8 --version 1.0 --slot-size 0x60000 --pad --confirm build\build_peripheral_ota\zephyr\zephyr.bin build\build_peripheral_ota\zephyr\signed1.1.bin

制作OTA程序
将签名后的OTA程序拷贝到手机上。
4 演示说明
烧录完成后,设备自动启动蓝牙广播,可以在手机APP nRF Connect或抓包工具上获取如下信息:
Service UUID: 0x1805, 0x180D, 0x180F
Device Name: Zephyr Peripheral Sample Long Name
如下图所示:
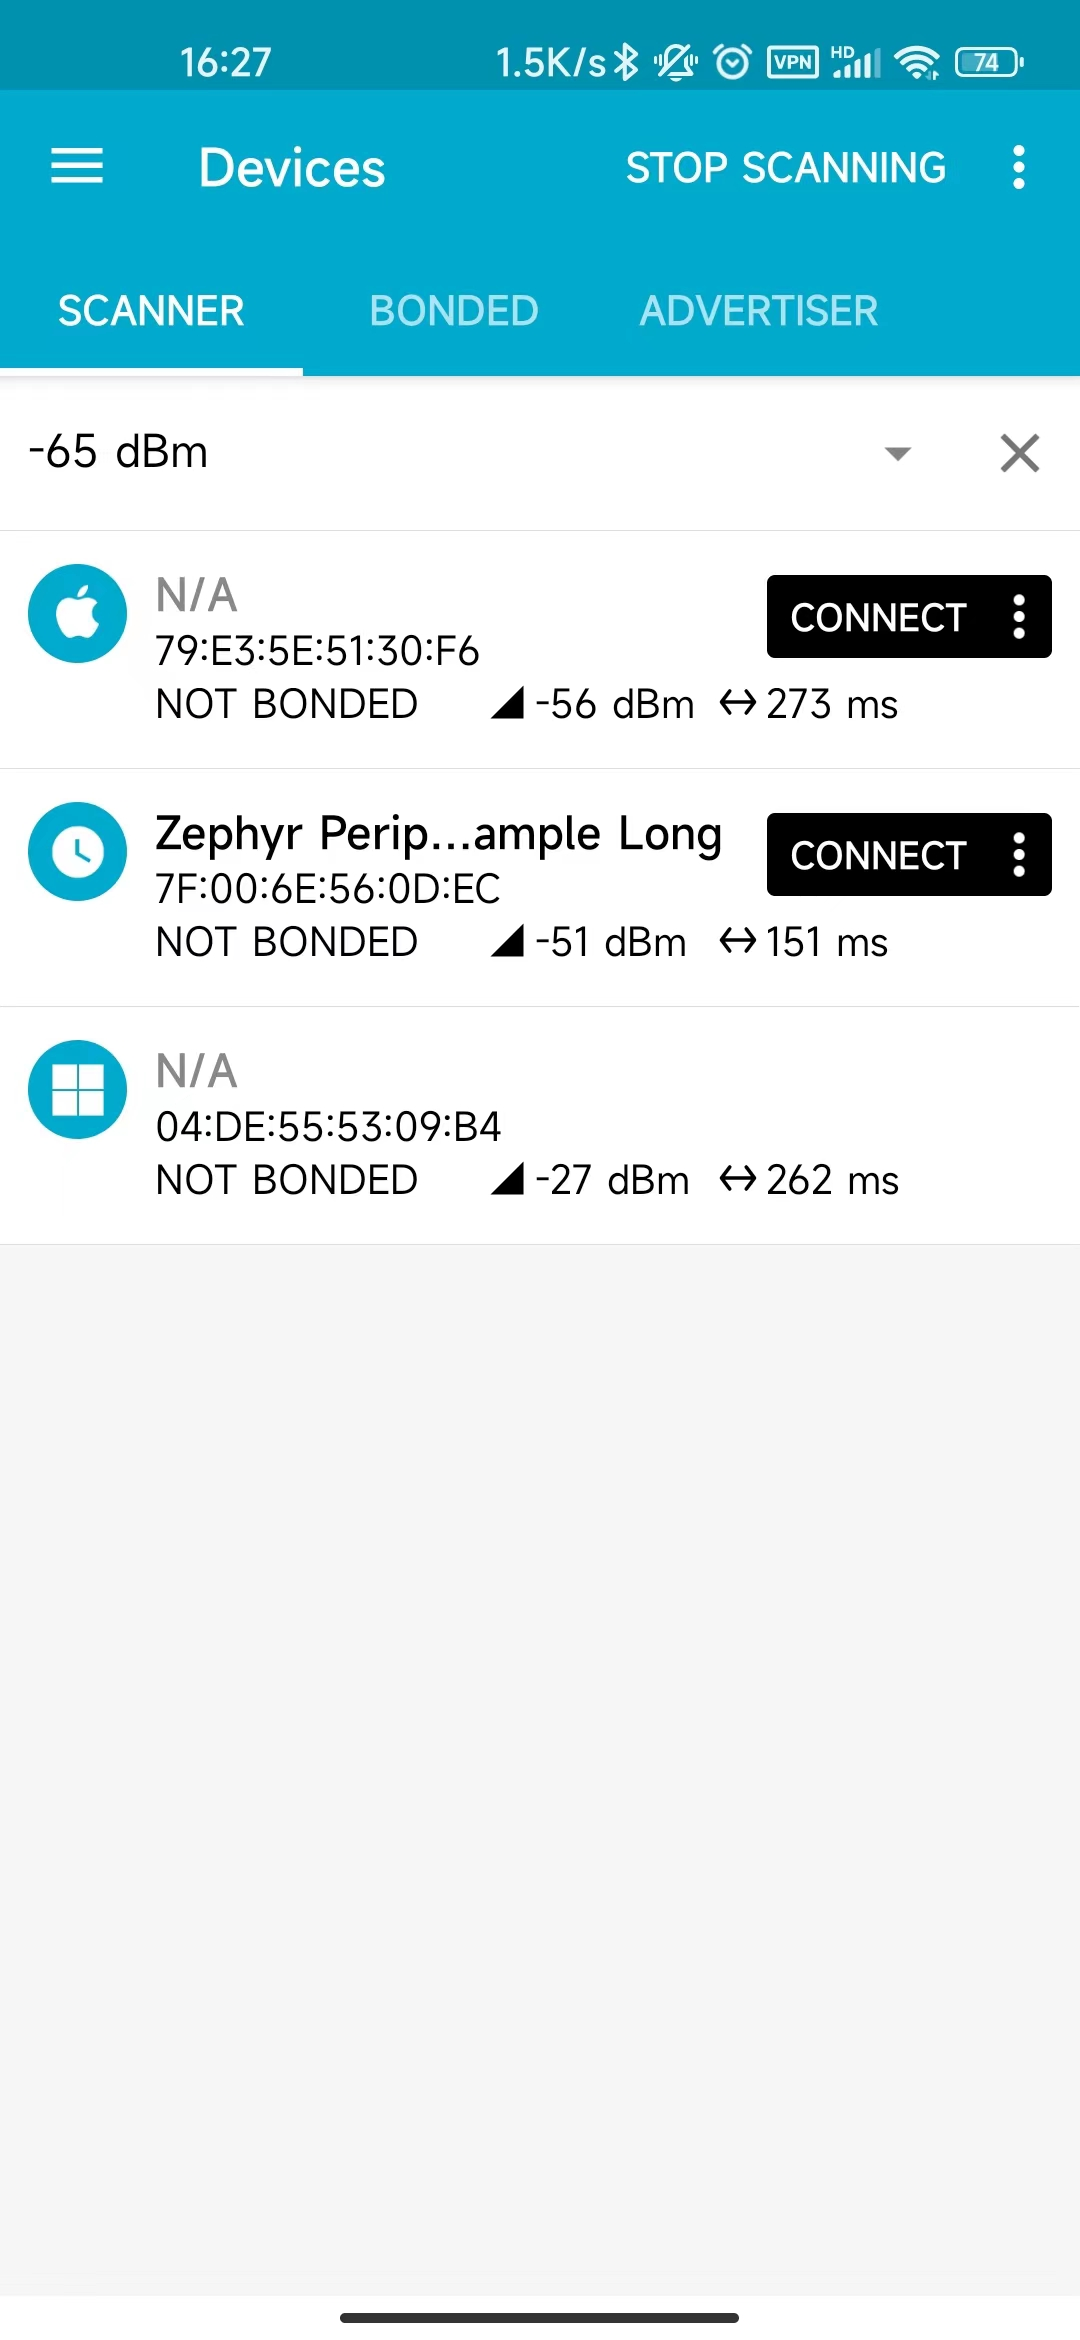
使用nRF Connect搜索蓝牙广播
当手机APP nRF Connect连接成功后,APP显示如下:
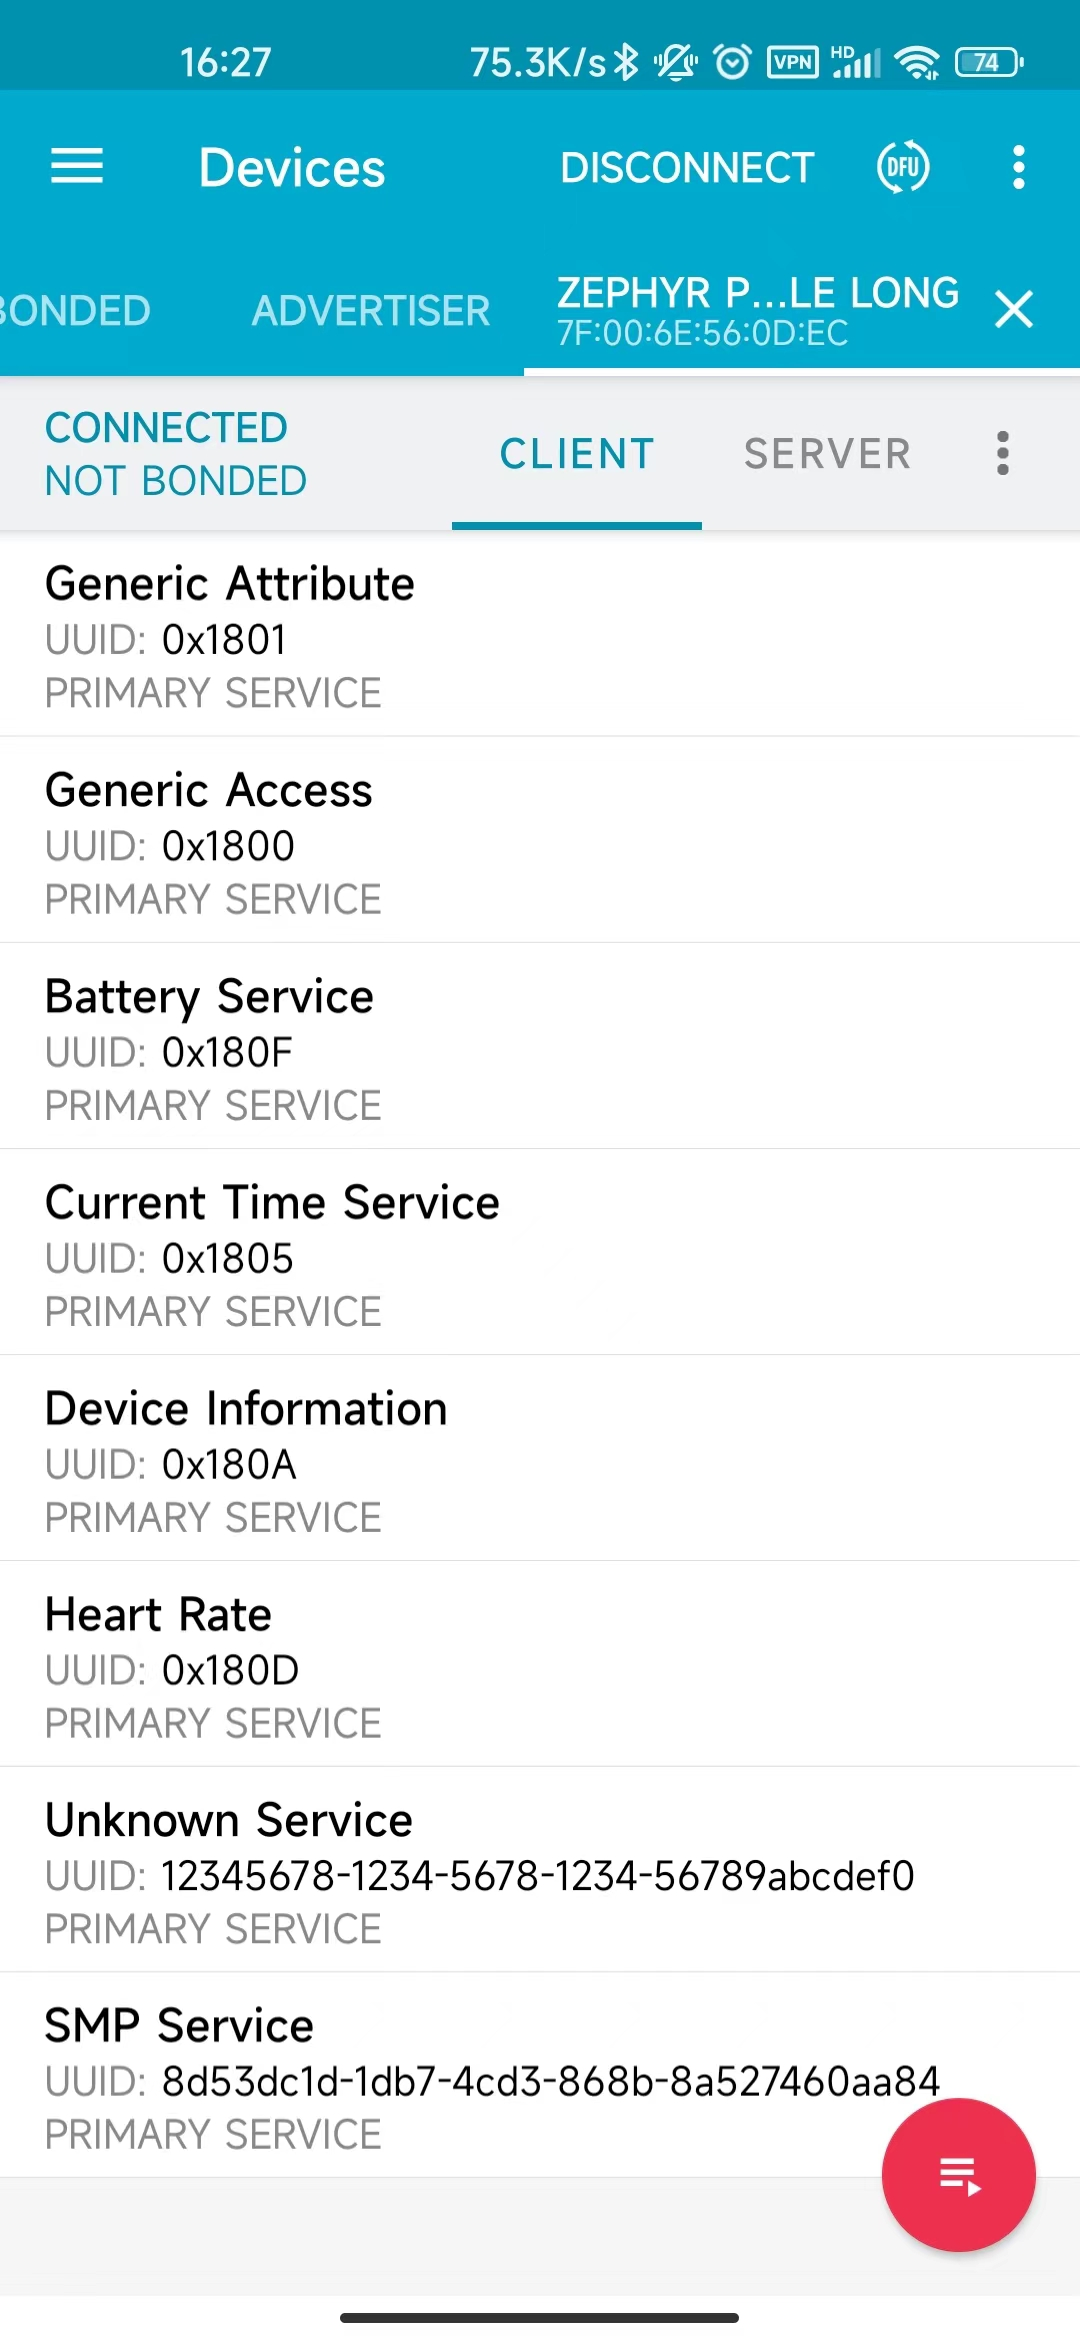
蓝牙成功连接
SMP服务就是OTA的服务。
点击手机右上角的“DFU”按钮,进入OTA文件选择界面,如下图所示:
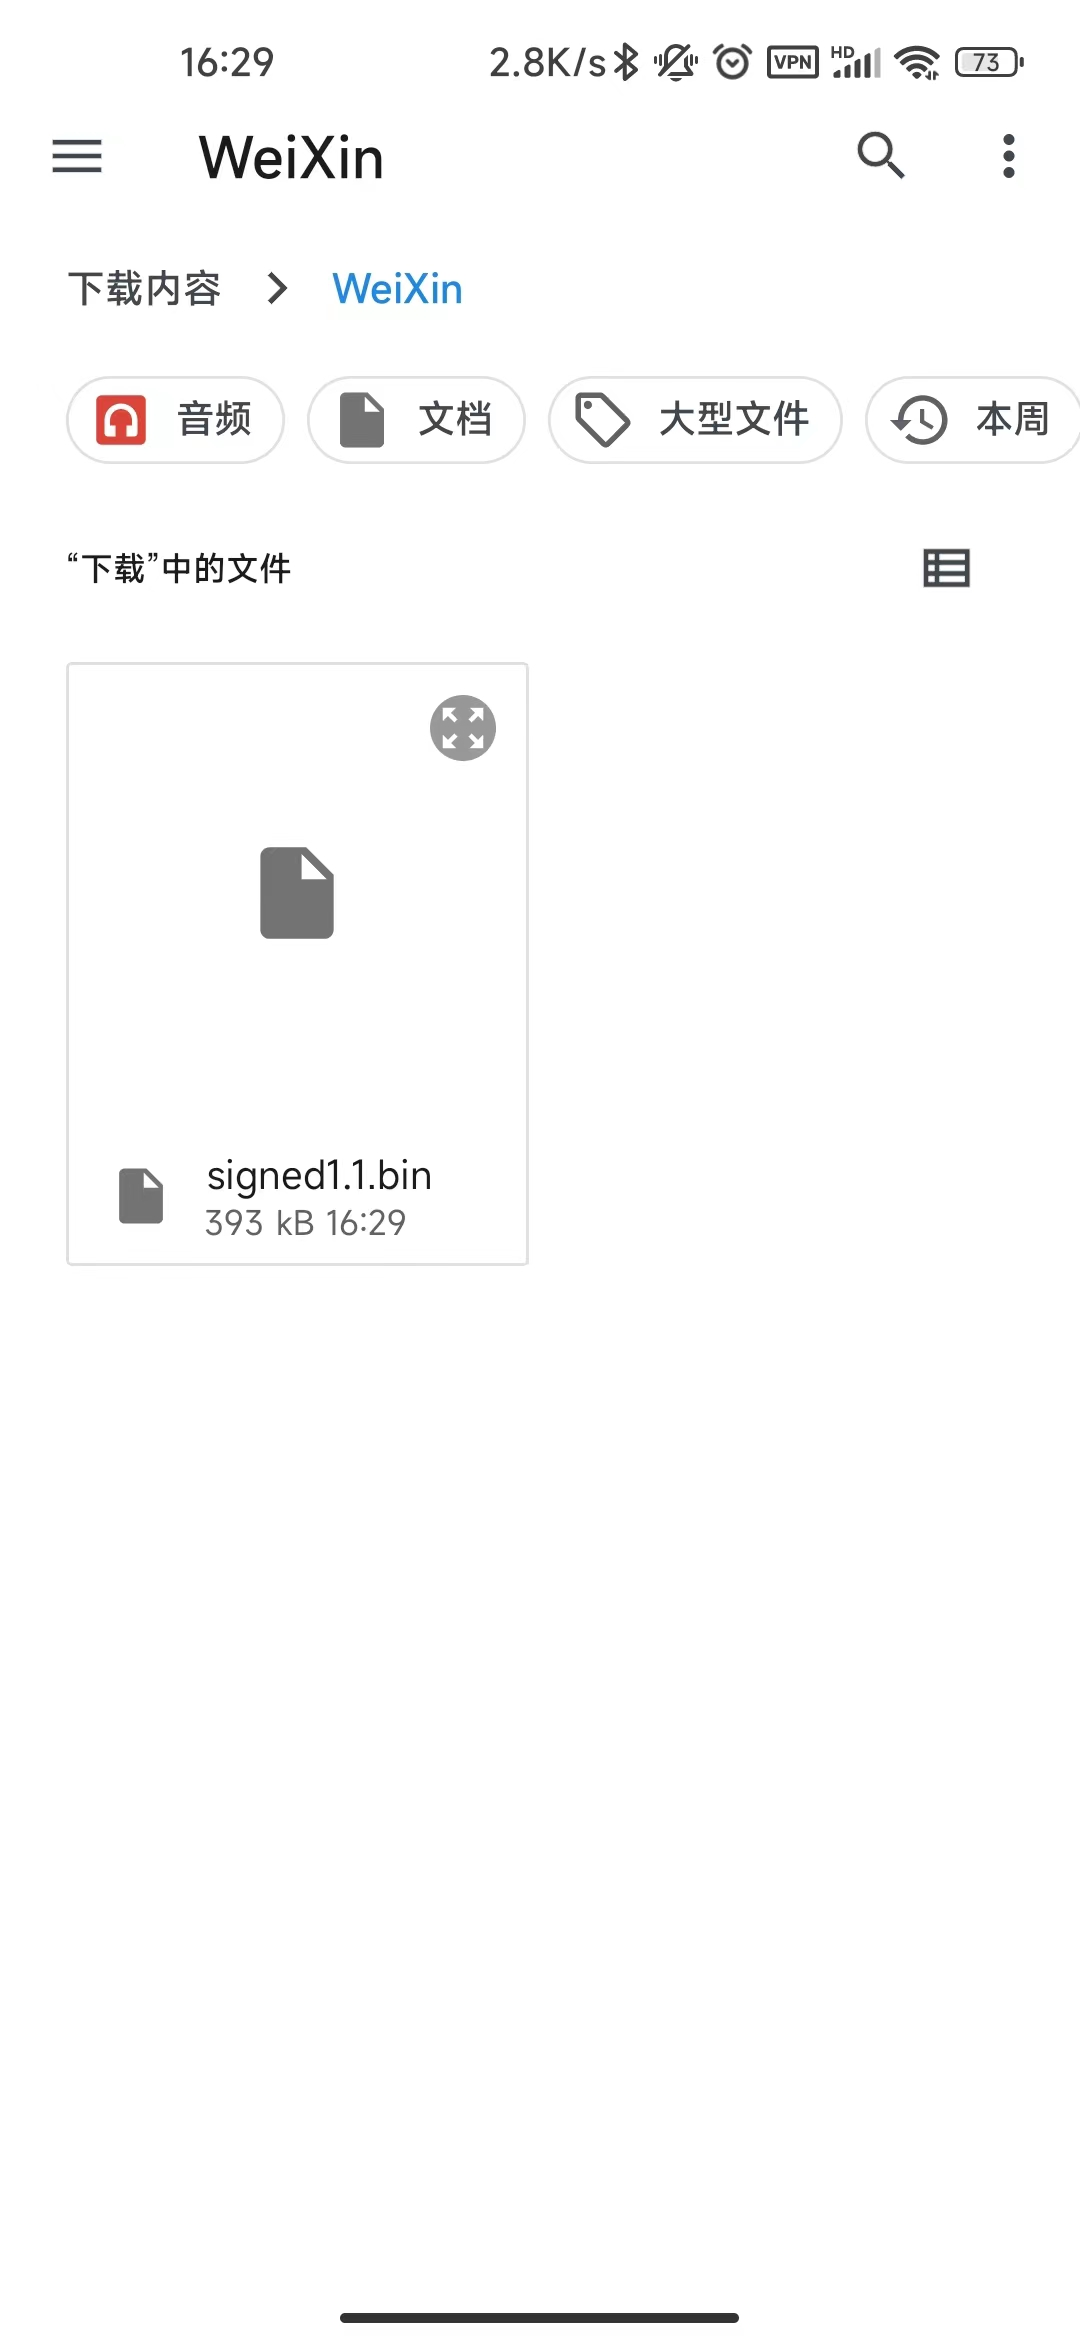
选择待升级的Image文件
选择刚刚生成的OTA文件“signed1.1.bin”。
选择OTA的模式:
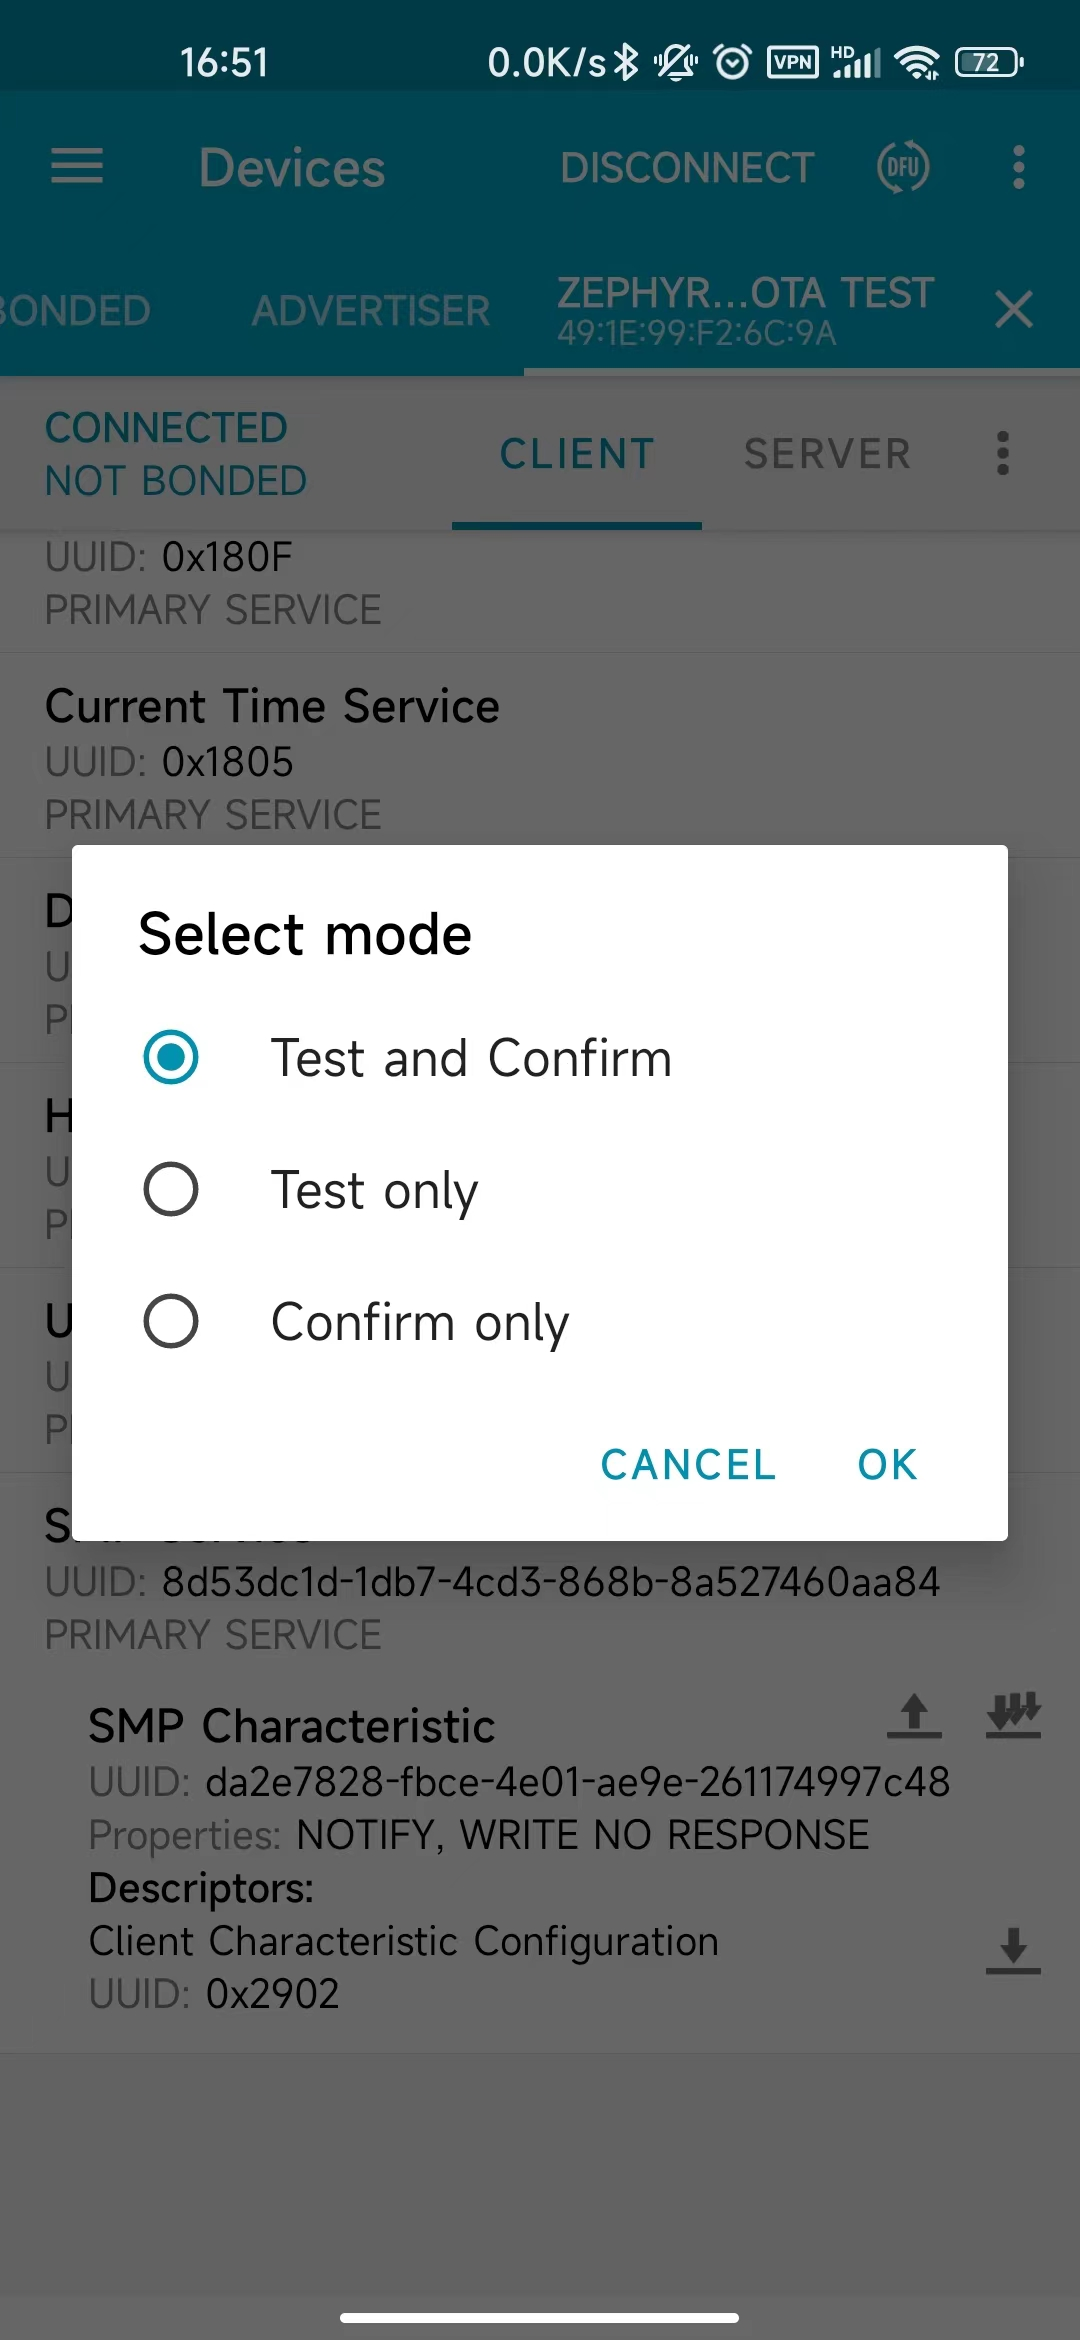
选择OTA模式
开始OTA
选好文件后就开始OTA了,OTA支持断点续传功能。
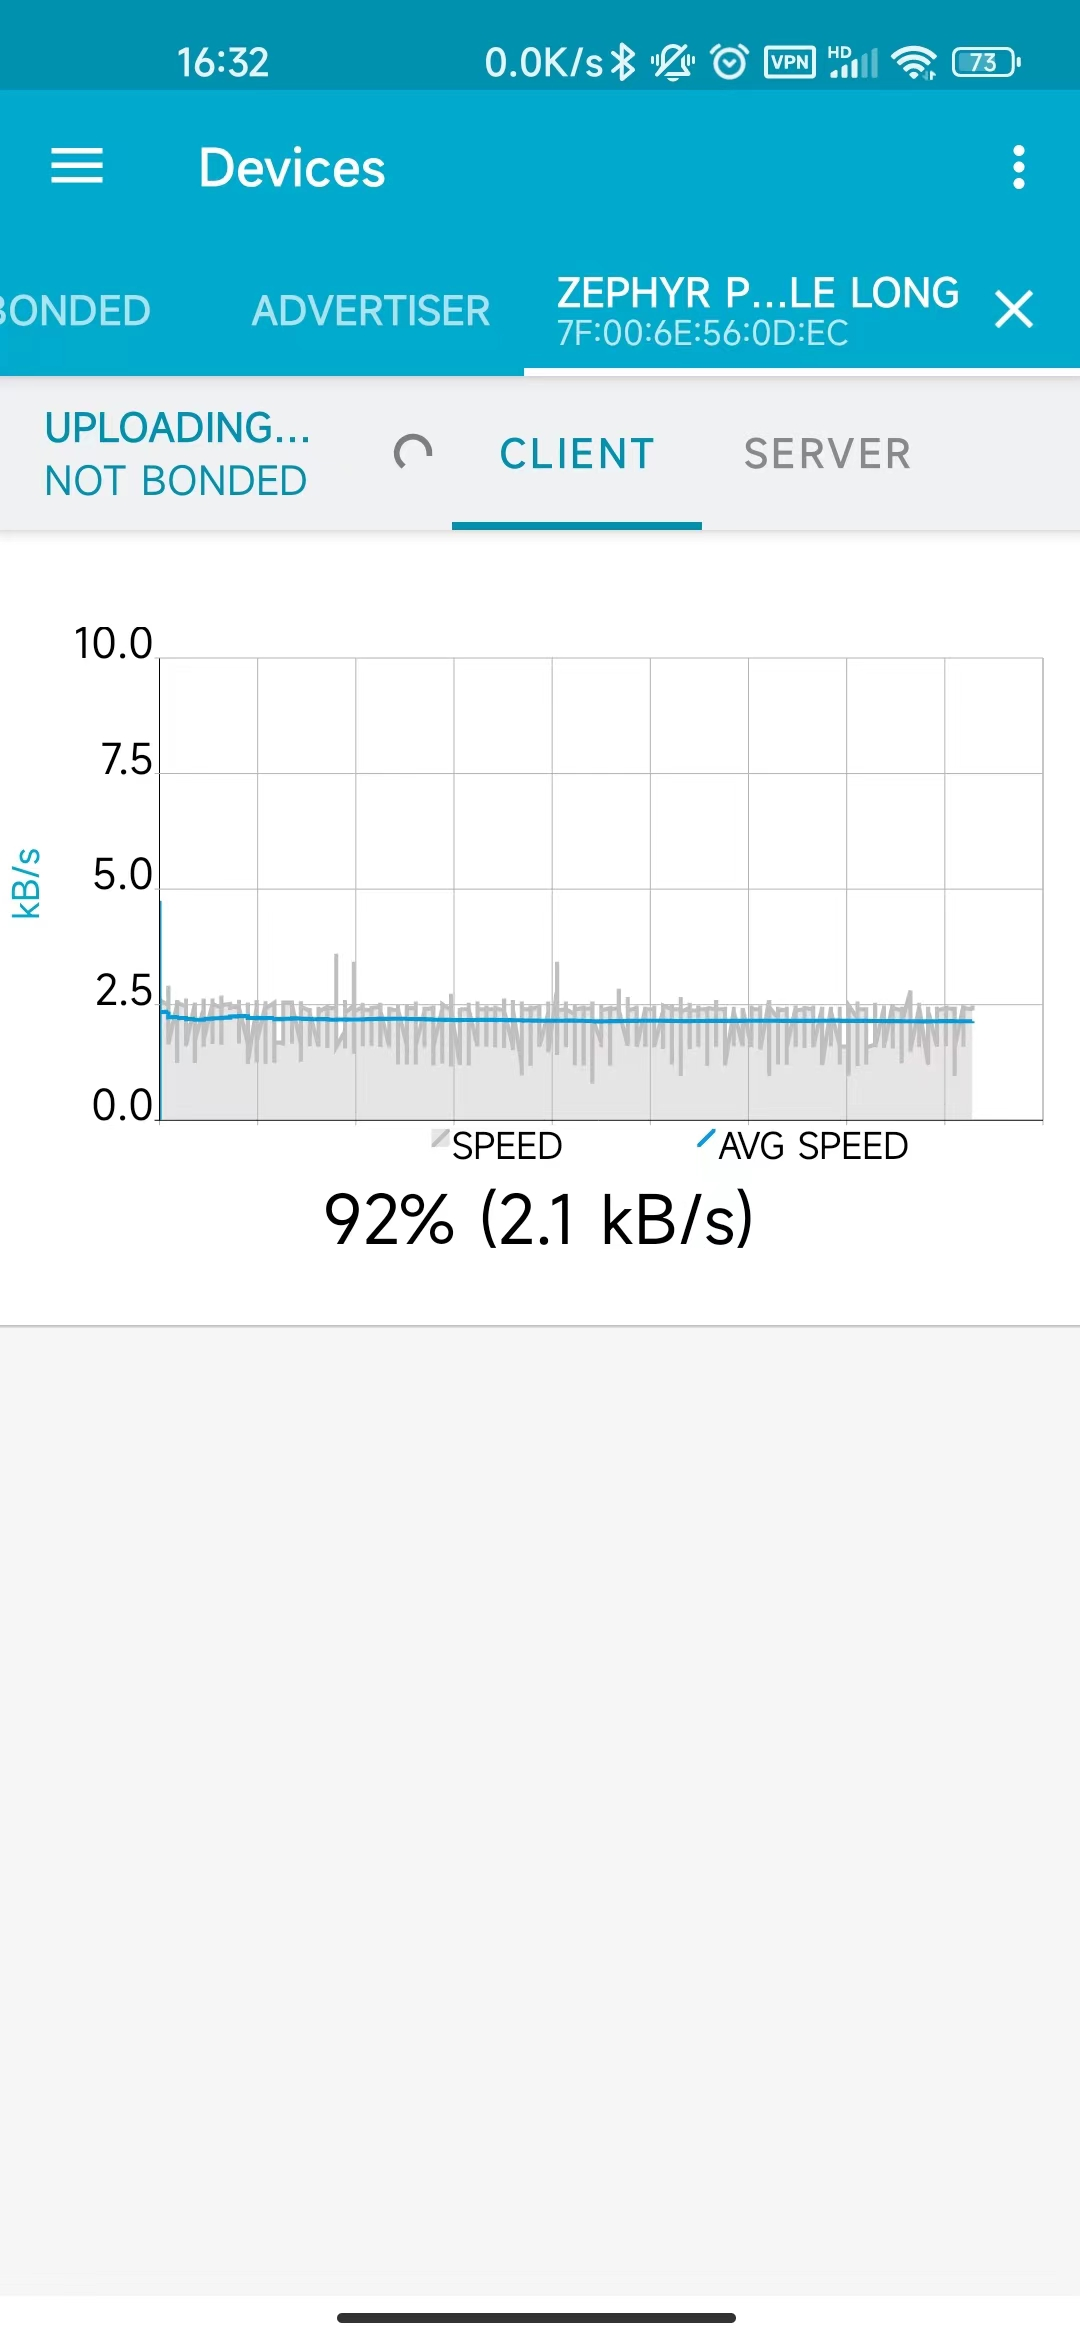
开始OTA
OTA结束
OTA文件传输完成后,芯片自动复位重启。使用手机APP nRF Connect扫描设备的广播信息,此时设备的名字已经改变。
如下图所示:
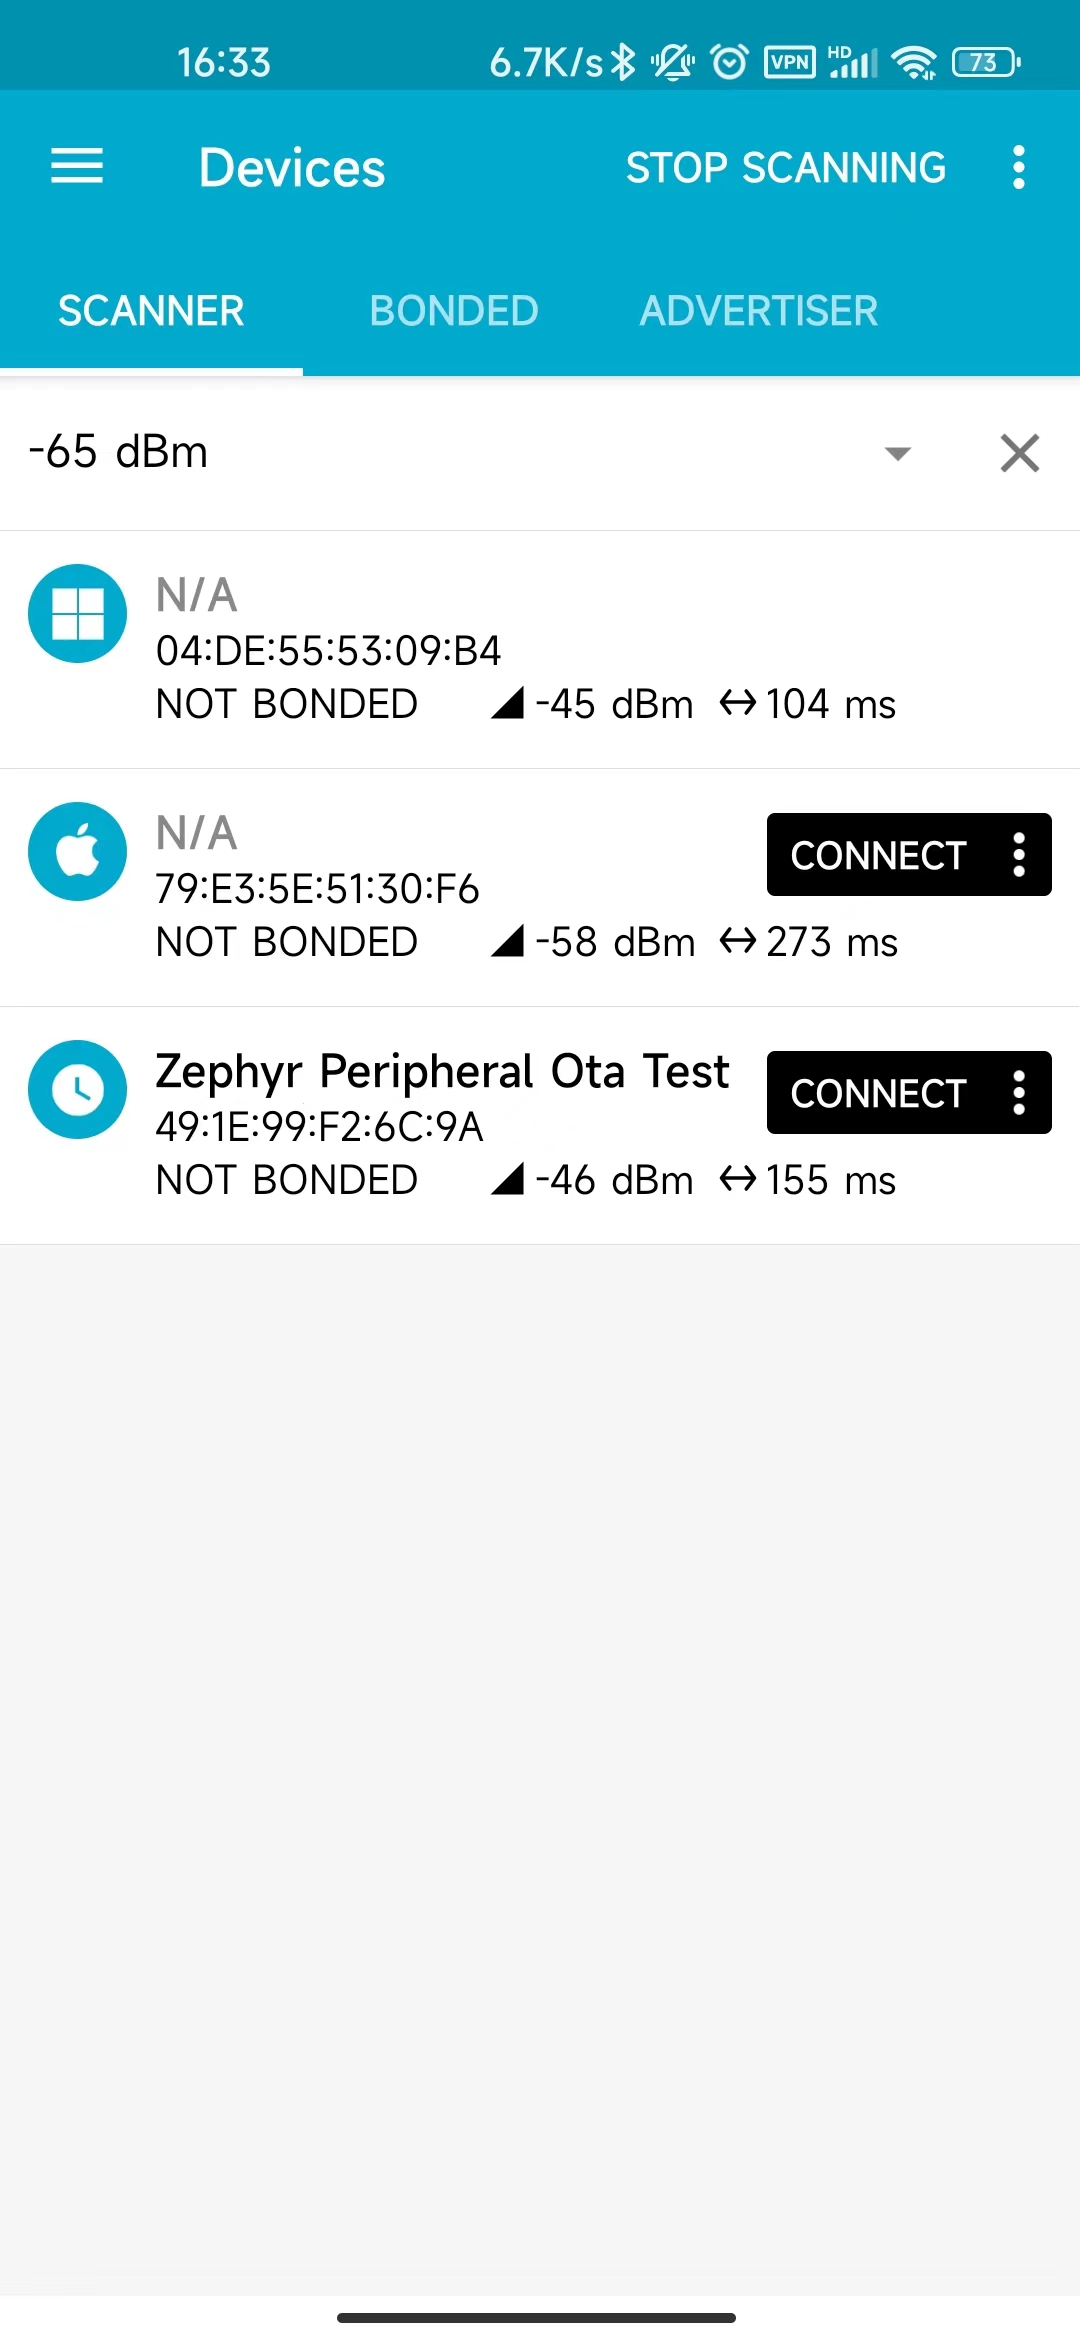
OTA完成
OTA升级固件成功。
5 OTA功能移植
如果其他工程想要使用OTA功能,需要执行以下三个步骤:
在“prj.conf”文件中添加CONFIG配置
######################  OTA CONFIG  ###########################
# Allow for large Bluetooth data packets.
CONFIG_BT_L2CAP_TX_MTU=252
CONFIG_BT_BUF_ACL_RX_SIZE=256

# Enable the Bluetooth (unauthenticated) and shell mcumgr transports.
CONFIG_MCUMGR_SMP_BT=y
CONFIG_MCUMGR_SMP_BT_AUTHEN=n

# Enable the LittleFS file system.
CONFIG_FILE_SYSTEM=y
CONFIG_FILE_SYSTEM_LITTLEFS=y

# Add 256 bytes to accommodate upload command (lfs_stat overflows)
CONFIG_SYSTEM_WORKQUEUE_STACK_SIZE=2304

# Enable mcumgr.
CONFIG_MCUMGR=y

# Ensure an MCUboot-compatible binary is generated.
CONFIG_BOOTLOADER_MCUBOOT=y

# Required by the `taskstat` command.
CONFIG_THREAD_MONITOR=y

# Enable statistics and statistic names.
CONFIG_STATS=y
CONFIG_STATS_NAMES=y

# Enable most core commands.
CONFIG_MCUMGR_CMD_IMG_MGMT=y
CONFIG_MCUMGR_CMD_OS_MGMT=y
CONFIG_MCUMGR_CMD_STAT_MGMT=y
###########################################################################
在“main.c”文件中包含OTA相关的头文件
/******************  OTA INCLUDE *******************/
#ifdef CONFIG_MCUMGR_CMD_OS_MGMT
#include "os_mgmt/os_mgmt.h"
#endif
#ifdef CONFIG_MCUMGR_CMD_IMG_MGMT
#include "img_mgmt/img_mgmt.h"
#endif
#ifdef CONFIG_MCUMGR_CMD_STAT_MGMT
#include "stat_mgmt/stat_mgmt.h"
#endif
#ifdef CONFIG_MCUMGR_SMP_BT
#include <mgmt/mcumgr/smp_bt.h>
#endif
/*****************************************************/
在“main()”函数中添加OTA相关初始化代码
	err = bt_enable(NULL);
	if (err) {
		printk("Bluetooth init failed (err %d)\n", err);
		return;
	}

	bt_ready();

/******************  OTA SERVICE  *******************/
#ifdef CONFIG_MCUMGR_CMD_OS_MGMT
	os_mgmt_register_group();
#endif
#ifdef CONFIG_MCUMGR_CMD_IMG_MGMT
	img_mgmt_register_group();
#endif
#ifdef CONFIG_MCUMGR_CMD_STAT_MGMT
	stat_mgmt_register_group();
#endif
#ifdef CONFIG_MCUMGR_SMP_BT
	smp_bt_register();
#endif
/*****************************************************/
在新的工程添加以上三部分代码后,新的工程也支持OTA功能了。