快速上手 BLE App 开发
本文将演示蓝牙的基础功能开发,以及如何添加新的GATT服务。
2 参考相关例程
蓝牙开发需要了解一些蓝牙协议相关的知识,可以参考蓝牙协议规范,网上也有很多协议的介绍,此处不作为重点。
当前SDK中提供了一些蓝牙相关的例程,涵盖了 beacon、central、peripheral、hid、mesh 等。
在进行蓝牙开发之前,建议先看一下相关的例程和文档,磨刀不误砍柴工,相信这些例程会对你的开发有所帮助。

3 新建一个蓝牙例程
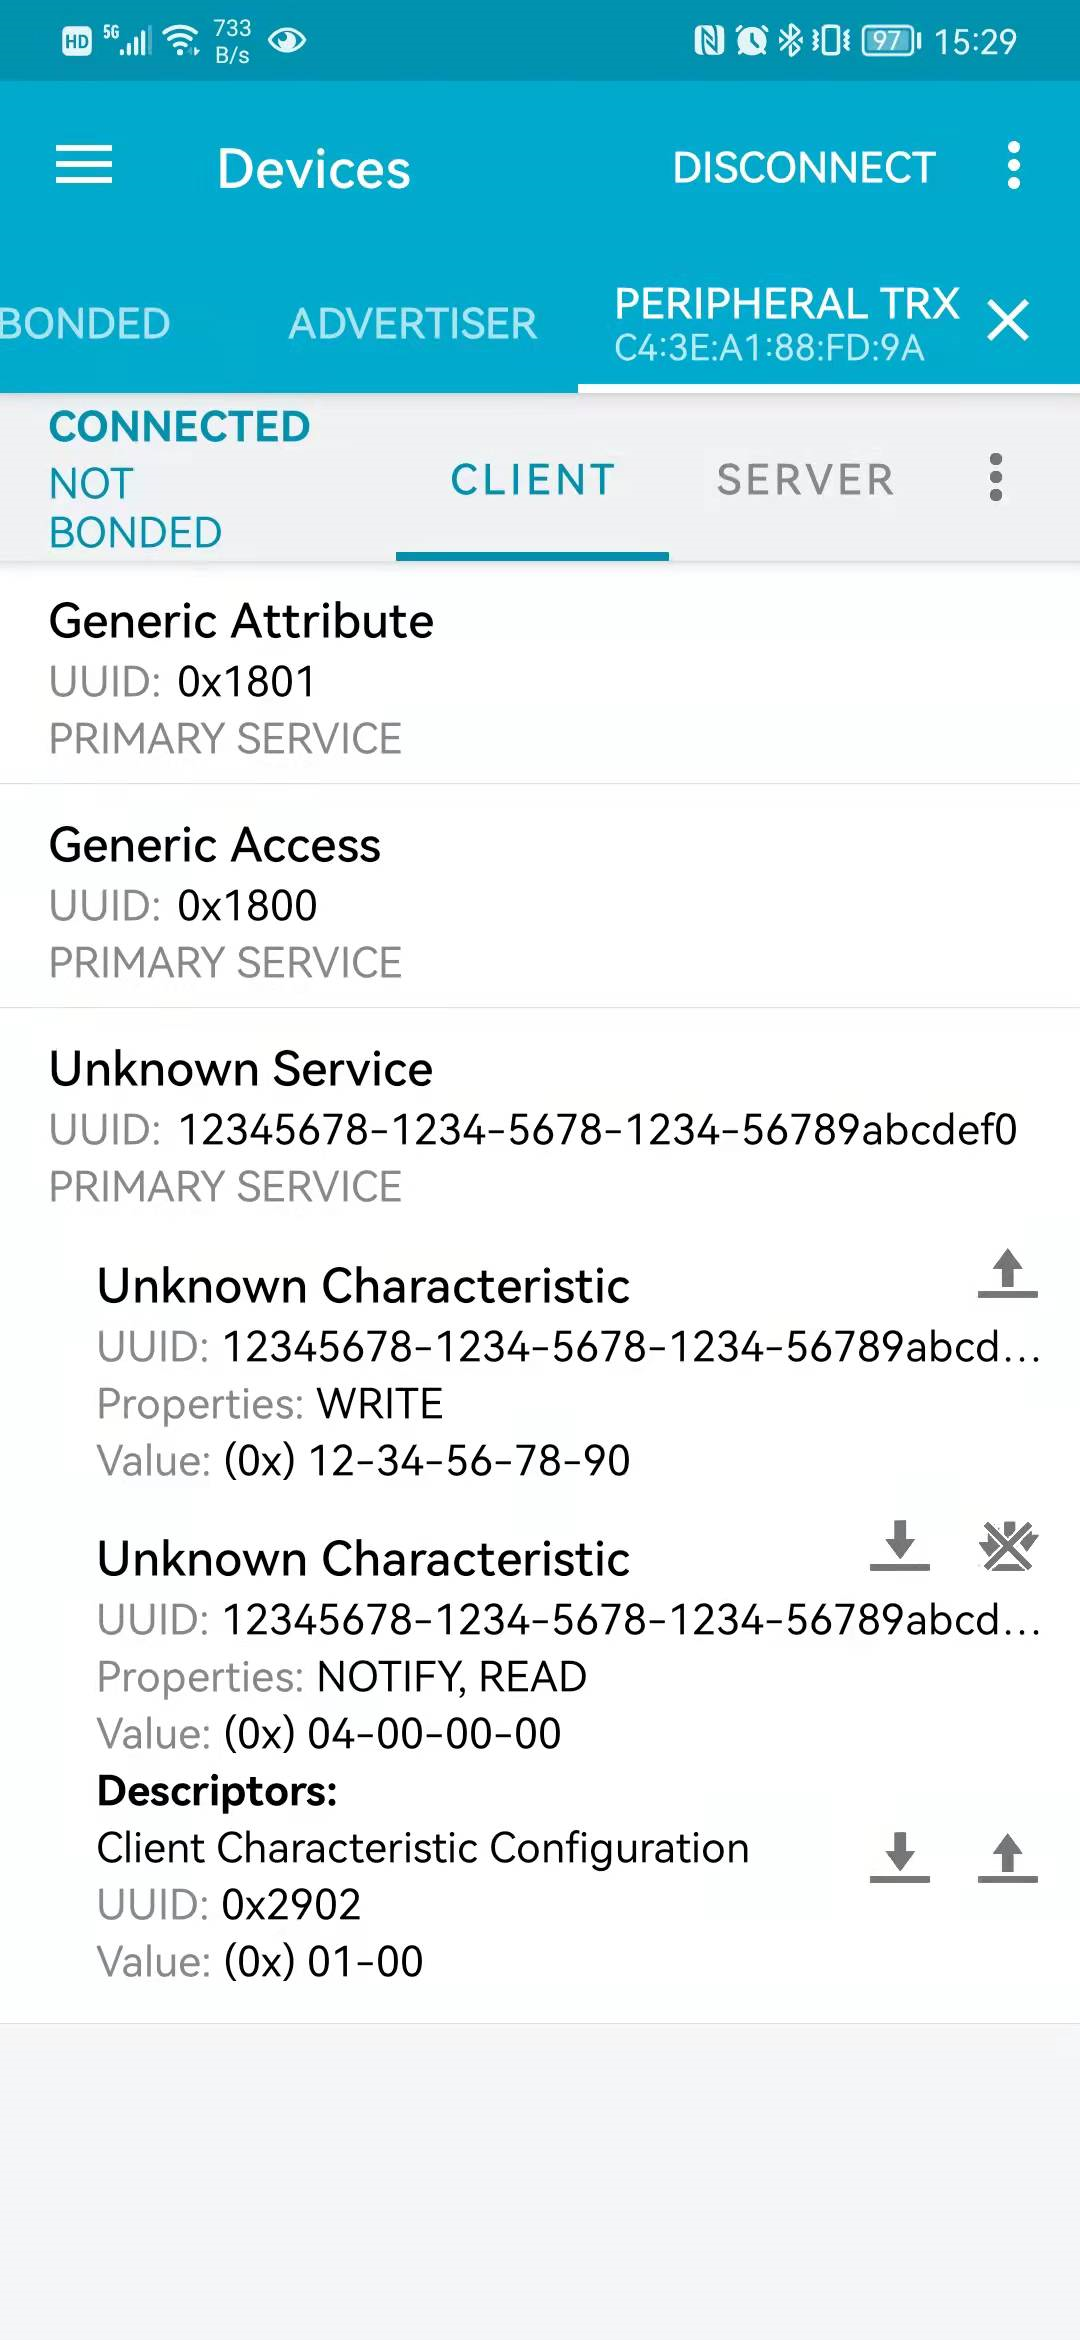
在对蓝牙协议以及相关例程有一些了解之后,就可以尝试进行开发了,这里我们演示一个蓝牙收、发服务例程,具体服务描述如下:
Service or Characteristic |
UUID |
Properties |
|---|---|---|
T/Rx Service |
0x12345678-1234- 5678-1234-56789abcdef0 |
|
Data From Client to Server Characteristic |
0x12345678-1234- 5678-1234-56789abcdef1 |
Write |
Data From Server to Client Characteristic |
0x12345678-1234- 5678-1234-56789abcdef2 |
Read, Notify |
3.1 拷贝一份相似的工程
(1) 拷贝一份与自己项目需求相近的例程
当然你也可以在原有例程上进行修改,初期并不建议开发者从头开始进行开发。
例程 peripheral_hr 演示了简单的健康温度计(Health Thermometer)服务,可以在建立连接后将采集温度并上报给主机,我们将以这个例程为基础,来进行修改和补充,首先拷贝一份 peripheral_hr 并重命名为 peripheral_trx。

其中的 必要的文件为:
src\main.c: 主程序代码CMakeList.txt: cmake 文件prj.conf: 项目配置文件
其它几个文件都不是必须的:
prj_minimal.conf: 编译阶段可选的项目配置文件README.rst: 项目说明文件sample.yaml: 用于 zephyr tests 的文件
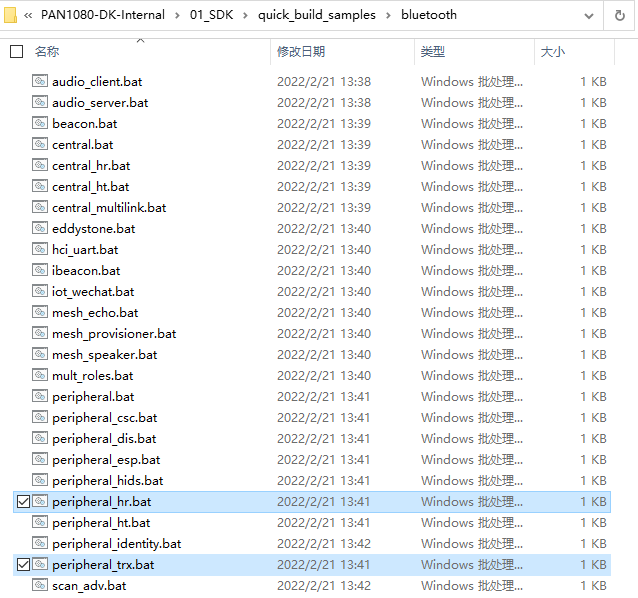
(2) 拷贝 quick_build 脚本,并重命名
名称需要与 项目名称保持一致。
(3) 运行修改后的编译脚本
这个步骤不是必须的,这里只是为了再次确认环境。
编译成功时,会有如下显示。
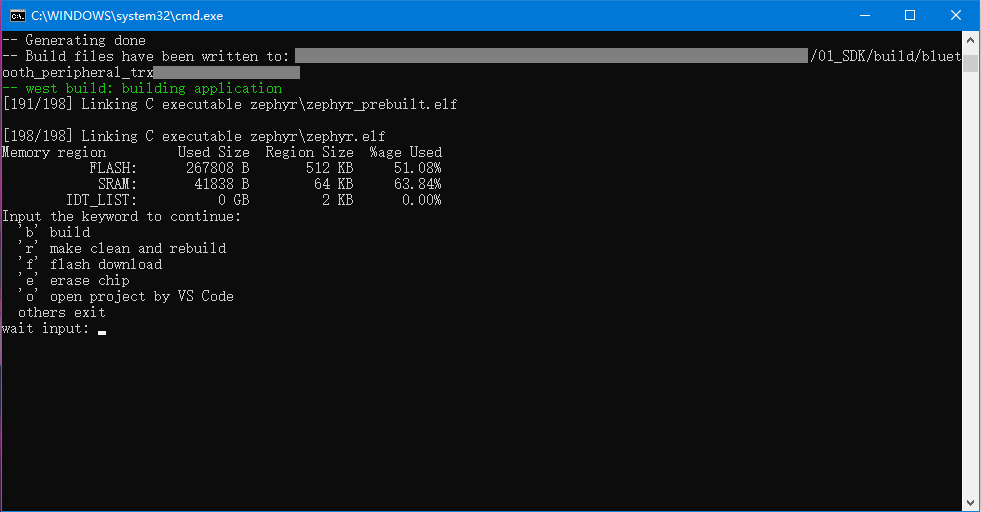
此时可以输入 o, 来启动 VS Code ,在其中修改代码和配置文件,编译和下载;也使用其它编辑工具开发,使用当前脚本进行编译和下载等。
3.2 进行必要的调整
(1) 为了简单起见,我们删掉不必要的文件。
删掉 prj_minimal.conf,README.rst,sample.yaml。

(2) 在 CMakeList.txt 文件中修改项目名称为 peripheral_trx。
## SPDX-License-Identifier: Apache-2.0

cmake_minimum_required(VERSION 3.20.0)

find_package(Zephyr REQUIRED HINTS $ENV{ZEPHYR_BASE})
project(peripheral_trx)

FILE(GLOB app_sources src/*.c)
target_sources(app PRIVATE
  ${app_sources}
  )

zephyr_library_include_directories(${ZEPHYR_BASE}/samples/bluetooth)
(3) 在 prj.conf 中修改项目的配置,关闭不必要的配置。
CONFIG_BT=y
CONFIG_BT_DEBUG_LOG=y
CONFIG_BT_PERIPHERAL=y
CONFIG_BT_DEVICE_NAME="Peripheral TRx"
CONFIG_BT_DEVICE_NAME_DYNAMIC=y
CONFIG_BT=y: 使能蓝牙CONFIG_BT_DEBUG_LOG=y: 使能蓝牙 logCONFIG_BT_PERIPHERAL=y: 使能 peripheralCONFIG_BT_DEVICE_NAME="Peripheral TRx": 修改蓝牙设备名称
(4) 在 main.c 中删掉不必要的代码,如原来代码中关于 BAS、HRS、AUTH 相关的内容。
#include <zephyr/types.h>
#include <stddef.h>
#include <string.h>
#include <errno.h>
#include <sys/printk.h>
#include <sys/byteorder.h>
#include <zephyr.h>

#include <bluetooth/bluetooth.h>
#include <bluetooth/hci.h>
#include <bluetooth/conn.h>
#include <bluetooth/uuid.h>
#include <bluetooth/gatt.h>

static const struct bt_data ad[] = {
	BT_DATA_BYTES(BT_DATA_FLAGS, (BT_LE_AD_GENERAL | BT_LE_AD_NO_BREDR)),
};

static void connected(struct bt_conn *conn, uint8_t err)
{
	if (err) {
		printk("Connection failed (err 0x%02x)\n", err);
	} else {
		printk("Connected\n");
	}
}

static void disconnected(struct bt_conn *conn, uint8_t reason)
{
	printk("Disconnected (reason 0x%02x)\n", reason);
}

BT_CONN_CB_DEFINE(conn_callbacks) = {
	.connected = connected,
	.disconnected = disconnected,
};

static void bt_ready(void)
{
	int err;

	printk("Bluetooth initialized\n");

	err = bt_le_adv_start(BT_LE_ADV_CONN_NAME, ad, ARRAY_SIZE(ad), NULL, 0);
	if (err) {
		printk("Advertising failed to start (err %d)\n", err);
		return;
	}

	printk("Advertising successfully started\n");
}

void main(void)
{
	int err;

	err = bt_enable(NULL);
	if (err) {
		printk("Bluetooth init failed (err %d)\n", err);
		return;
	}

	bt_ready();
}
上述代码比较简单,但有个点需要说明一下:
你可以使用
BT_CONN_CB_DEFINE来为连接事件注册回调函数,但却不需要对它进行额外的初始化;系统会将用这种方法定义的回调函数放到特定代码空间进行统一处理。初次接触的开发者可能会感到困惑,但它会很方便,特别是多个文件都需要处理这个回调函数时,只需要按照同样的方式处理即可。
(5) 重新编译和下载例程
此时我们重新编译 (rebuild),并下载。
下载成功,系统执行起来以后,串口工具将显示如下 Log:
*** Booting Zephyr OS version 2.7.0  ***
Bluetooth initialized
Advertising successfully started
[00:00:00.186,000] <inf> bt_hci_core: Identity: C4:3E:A1:88:FD:9A (random)
[00:00:00.186,000] <inf> bt_hci_core: HCI: version 5.1 (0x0a) revision 0x0003, manufacturer 0x07d1
[00:00:00.187,000] <inf> bt_hci_core: LMP: version 5.1 (0x0a) subver 0x0000
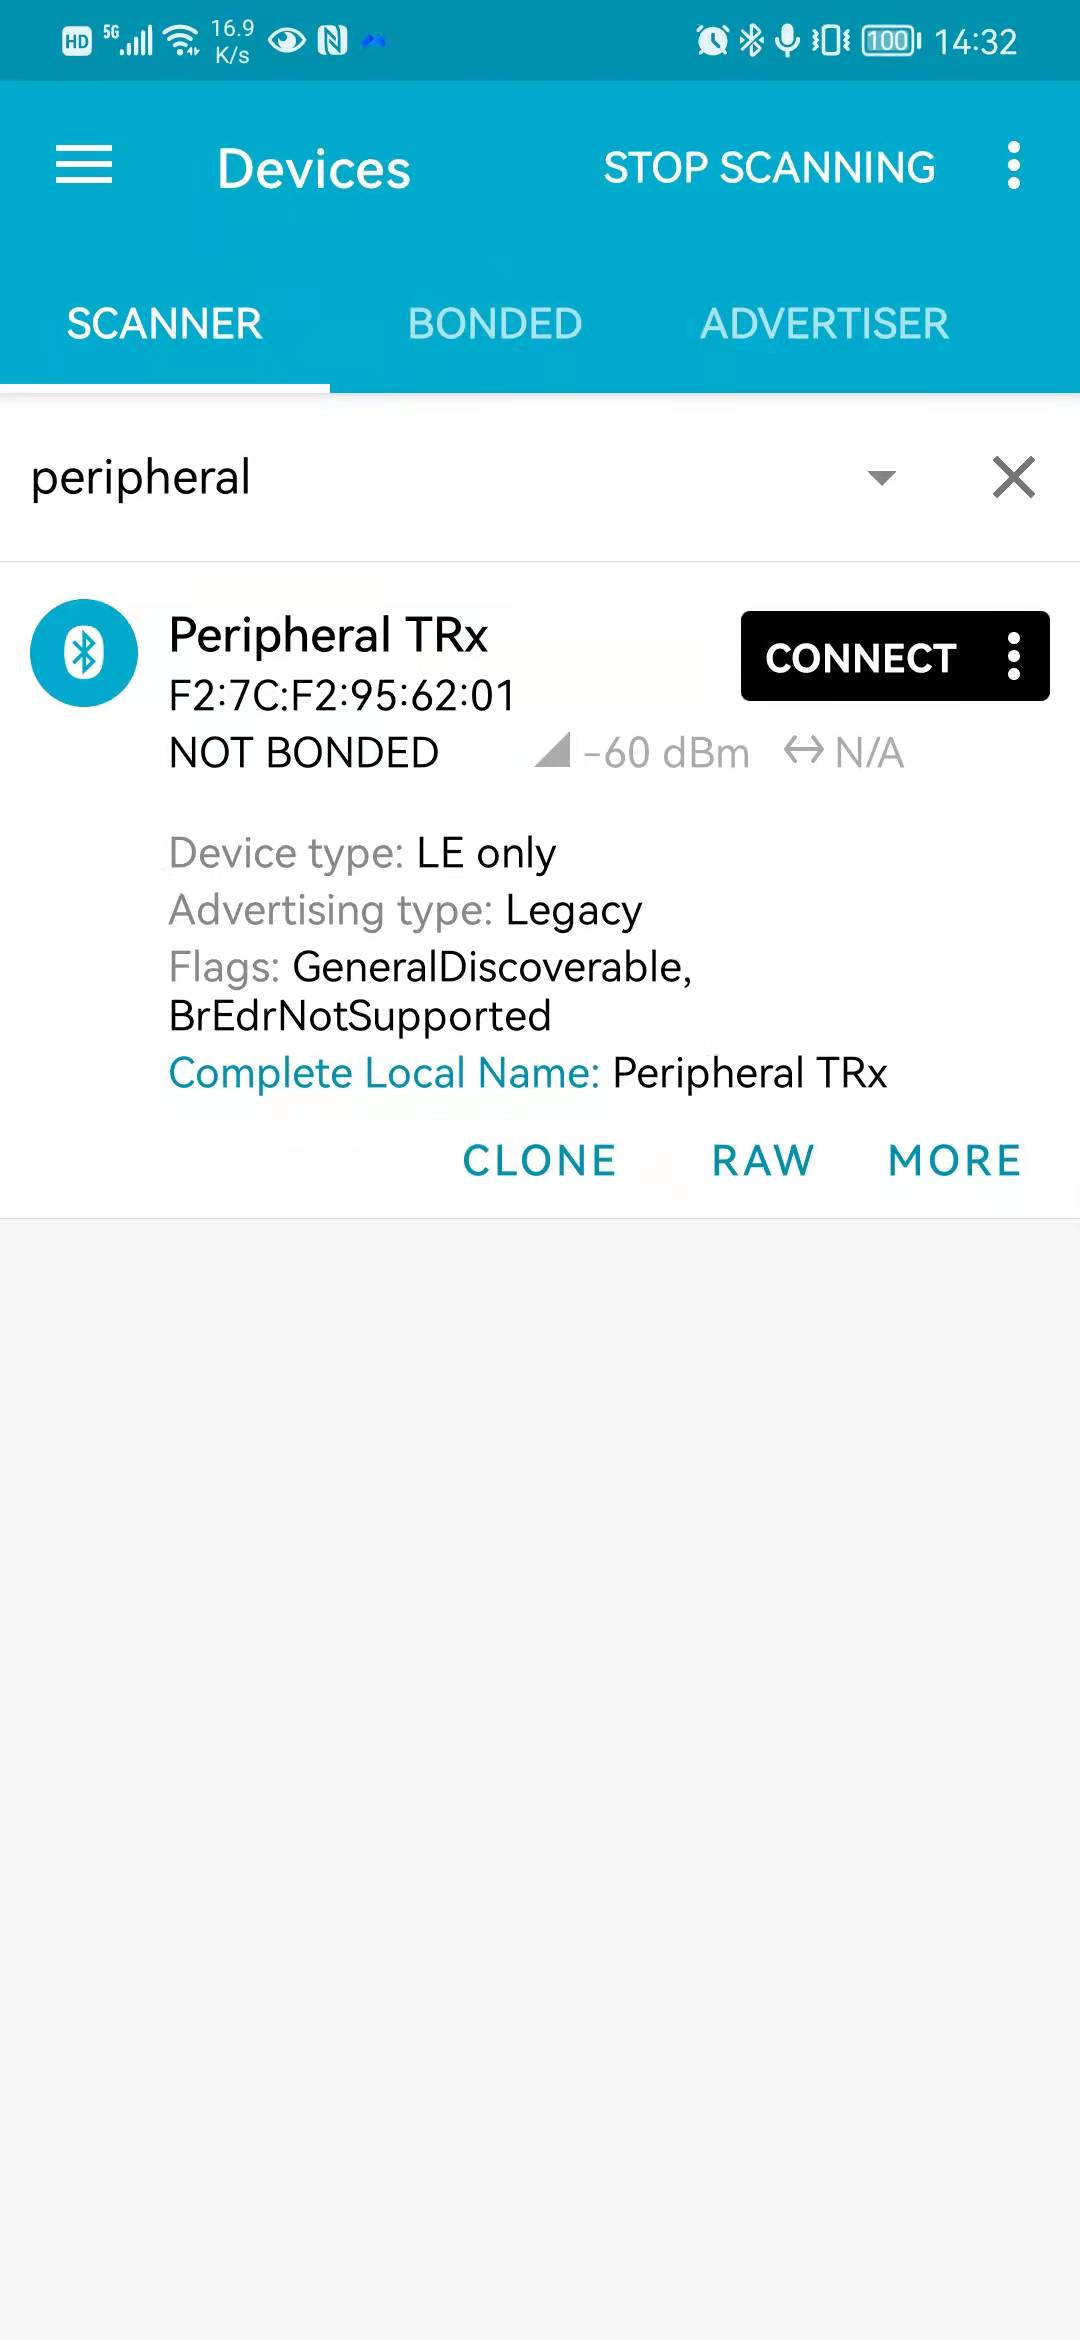
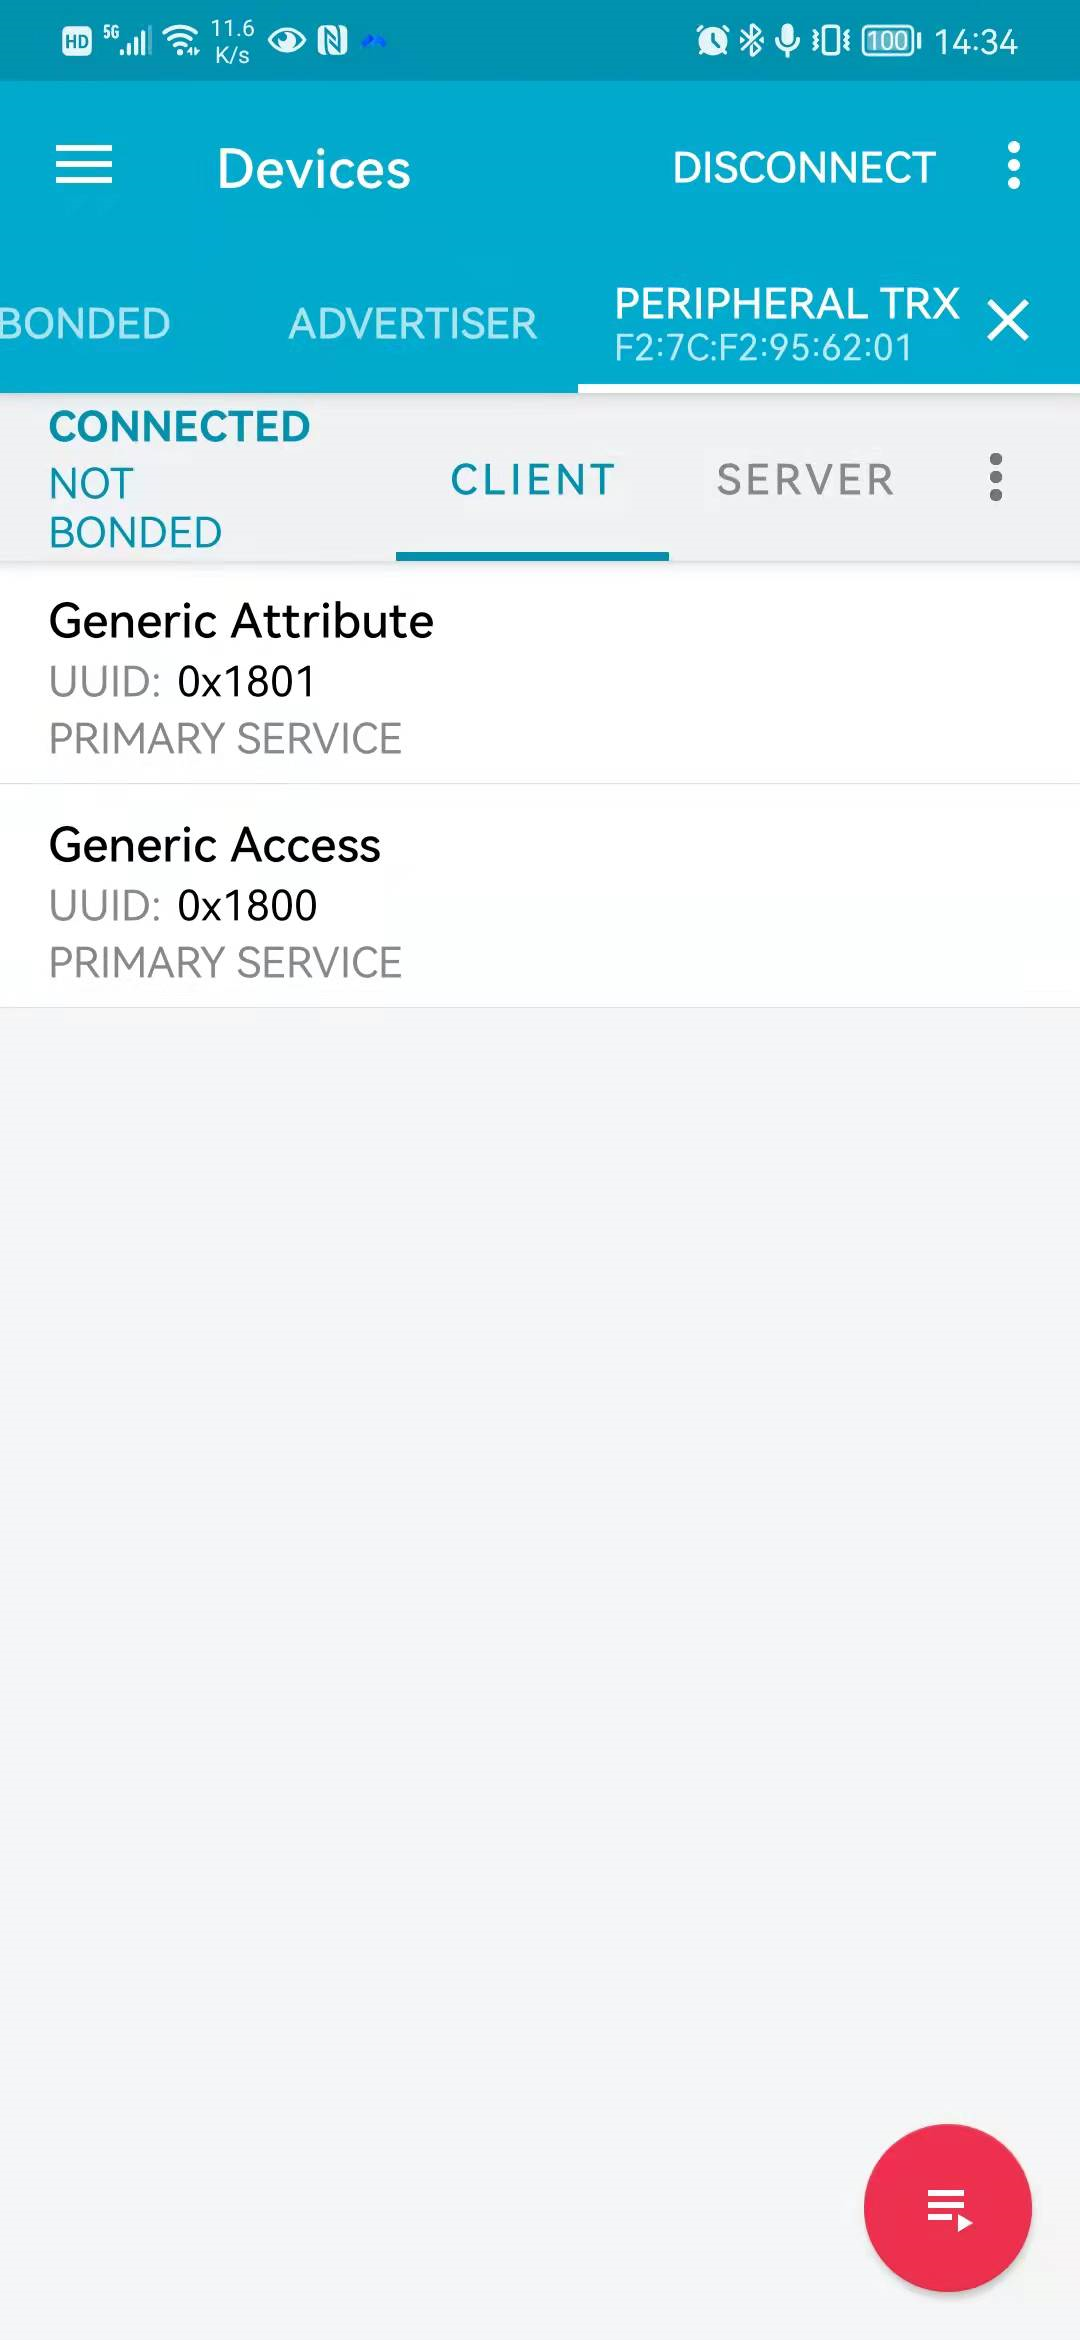
手机端可以通过 nRF Connect APP 进行搜索、连接蓝牙设备
注意,非HID相关的例程,不建议通过手机设置界面 查看和连接蓝牙设备,因为这可能涉及到一些手机系统的设备过滤和功能要求。
3.3 添加GATT服务
(1) 定义 UUID
/* TRx Service Variables */
#define BT_UUID_TRX_SERVICE_VAL \
	BT_UUID_128_ENCODE(0x12345678, 0x1234, 0x5678, 0x1234, 0x56789abcdef0)

static struct bt_uuid_128 trx_svc_uuid = BT_UUID_INIT_128(
	BT_UUID_TRX_SERVICE_VAL);

static struct bt_uuid_128 trx_c2s_uuid = BT_UUID_INIT_128(
	BT_UUID_128_ENCODE(0x12345678, 0x1234, 0x5678, 0x1234, 0x56789abcdef1));

static struct bt_uuid_128 trx_s2c_uuid = BT_UUID_INIT_128(
	BT_UUID_128_ENCODE(0x12345678, 0x1234, 0x5678, 0x1234, 0x56789abcdef2));
这里把 BT_UUID_TRX_SERVICE_VAL 单独列出来,是为了后面加到广播数据中,以暴露此服务。
(2) 定义 GATT 服务
可以使用 BT_GATT_SERVICE_DEFINE 来定义服务,它和前面介绍的 BT_CONN_CB_DEFINE 一样,将被系统放到特定代码空间,不需要额外初始化。
定义了三个 buffer 来存放 待收发的数据:trx_c2s_value,trx_s2c_value,trx_s2c_ntf_value。
定义了三个接口,处理数据收发:write_trx_c2s,read_trx_s2c,trx_s2c_ccc_cfg_changed。
GATT 服务一般要包含:BT_GATT_PRIMARY_SERVICE, BT_GATT_CHARACTERISTIC,包含 notify / indicate 时,还需要用到 BT_GATT_CCC 来进行管理是否使能。
更多的示例,请参考例程 bluetooth\peripheral。
#define TRX_MAX_LEN 20

static uint8_t trx_c2s_value[TRX_MAX_LEN + 1] = {
	'T', 'R', 'X', '_', 'C', '2', 'S'
};
static uint8_t trx_s2c_value[TRX_MAX_LEN + 1] = {
	'T', 'R', 'X', '_', 'S', '2', 'C'
};
static uint32_t trx_s2c_ntf_value;

static ssize_t write_trx_c2s(struct bt_conn *conn, const struct bt_gatt_attr *attr,
			 const void *buf, uint16_t len, uint16_t offset,
			 uint8_t flags)
{
	uint8_t *value = attr->user_data;

	if (offset + len > TRX_MAX_LEN) {
		return BT_GATT_ERR(BT_ATT_ERR_INVALID_OFFSET);
	}

	memcpy(value + offset, buf, len);
	value[offset + len] = 0;

	printk("write (%d): ", len);
	for (uint8_t i = 0; i < len; i++)
	{
		printk("0x%02X ", value[i]);
	}
	printk("\n");

	return len;
}

static ssize_t read_trx_s2c(struct bt_conn *conn, const struct bt_gatt_attr *attr,
			void *buf, uint16_t len, uint16_t offset)
{
	const char *value = attr->user_data;

	return bt_gatt_attr_read(conn, attr, buf, len, offset, value,
				 strlen(value));
}

static uint8_t simulate;

static void trx_s2c_ccc_cfg_changed(const struct bt_gatt_attr *attr, uint16_t value)
{
	simulate = (value == BT_GATT_CCC_NOTIFY) ? 1 : 0;
}

/* TRx Primary Service Declaration */
BT_GATT_SERVICE_DEFINE(trx_svc,
	BT_GATT_PRIMARY_SERVICE(&trx_svc_uuid),
	BT_GATT_CHARACTERISTIC(&trx_c2s_uuid.uuid,
			       BT_GATT_CHRC_WRITE, BT_GATT_PERM_WRITE,
			       NULL, write_trx_c2s, trx_c2s_value),
	BT_GATT_CHARACTERISTIC(&trx_s2c_uuid.uuid,
			       BT_GATT_CHRC_READ | BT_GATT_CHRC_NOTIFY,
			       BT_GATT_PERM_READ,
			       read_trx_s2c, NULL, trx_s2c_value),
	BT_GATT_CCC(trx_s2c_ccc_cfg_changed,
		    BT_GATT_PERM_READ | BT_GATT_PERM_WRITE),
);
(3) 定义接口
这里定义了两个接口:
trx_init:初始化 notify attributetrx_notify:上报数据给 client
static struct bt_gatt_attr *trx_ntf_attr;

static void trx_init(void)
{
	trx_ntf_attr = bt_gatt_find_by_uuid(trx_svc.attrs, trx_svc.attr_count, &trx_s2c_uuid.uuid);
}

static void trx_notify(void)
{
	if (simulate) {
		bt_gatt_notify(NULL, trx_ntf_attr, &trx_s2c_ntf_value, sizeof(trx_s2c_ntf_value));
		trx_s2c_ntf_value++;
	}
}
(4) 修改广播数据
添加了 TRx Service UUID,以便在广播数据中发现它。
static const struct bt_data ad[] = {
	BT_DATA_BYTES(BT_DATA_FLAGS, (BT_LE_AD_GENERAL | BT_LE_AD_NO_BREDR)),
	BT_DATA_BYTES(BT_DATA_UUID128_ALL, BT_UUID_TRX_SERVICE_VAL),
};
(5) 初始化 trx service 并 在连接建立且使能 notify 后上报数据
void main(void)
{
	int err;

	err = bt_enable(NULL);

	trx_init();

	if (err) {
		printk("Bluetooth init failed (err %d)\n", err);
		return;
	}

	bt_ready();

	while (1) {
		k_sleep(K_SECONDS(1));

		trx_notify();
	}
}
3.4 功能演示
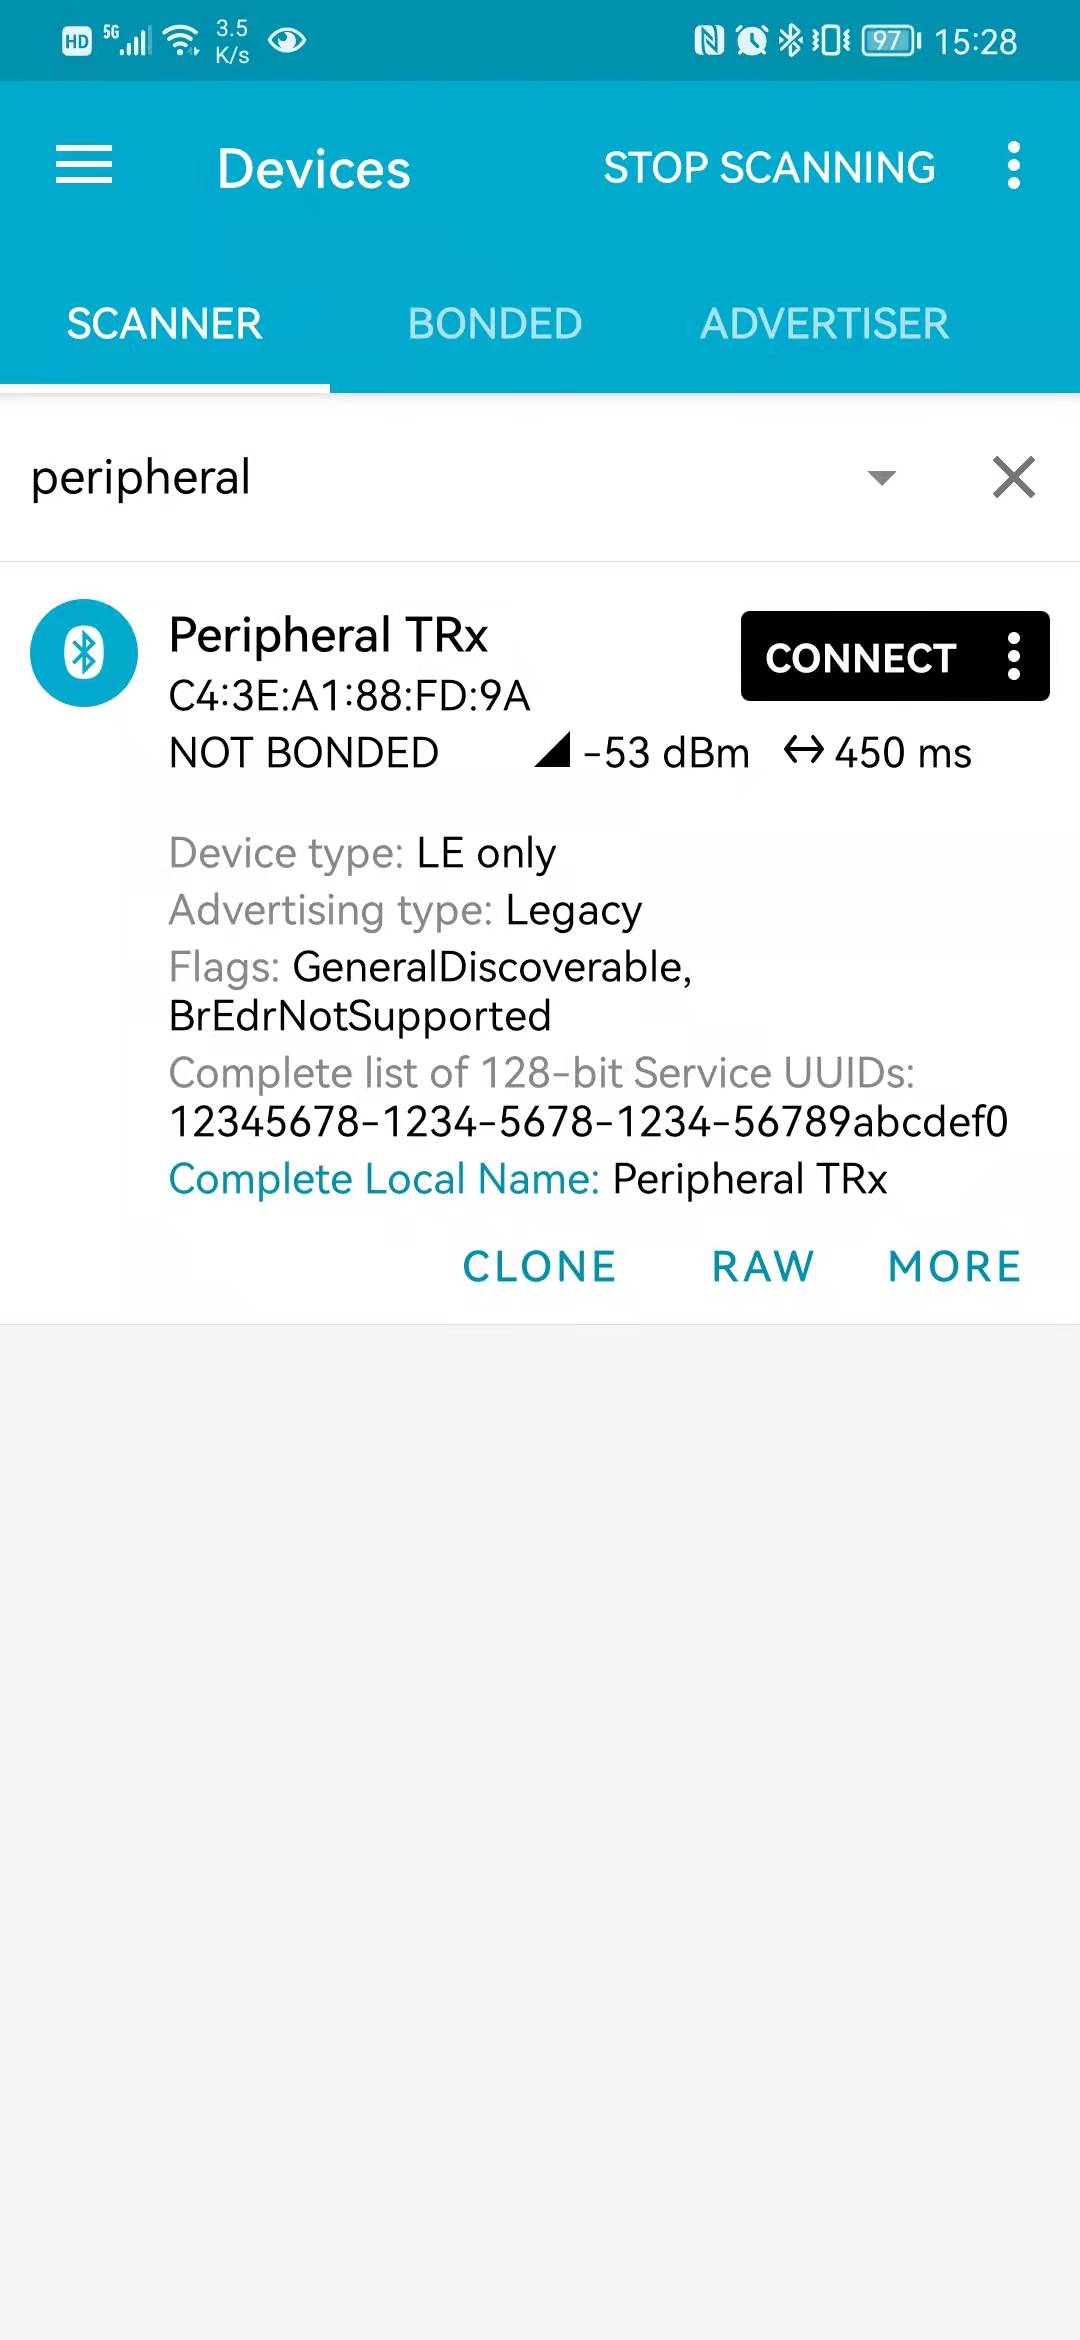
(1) 扫描设备
(2) 建立连接
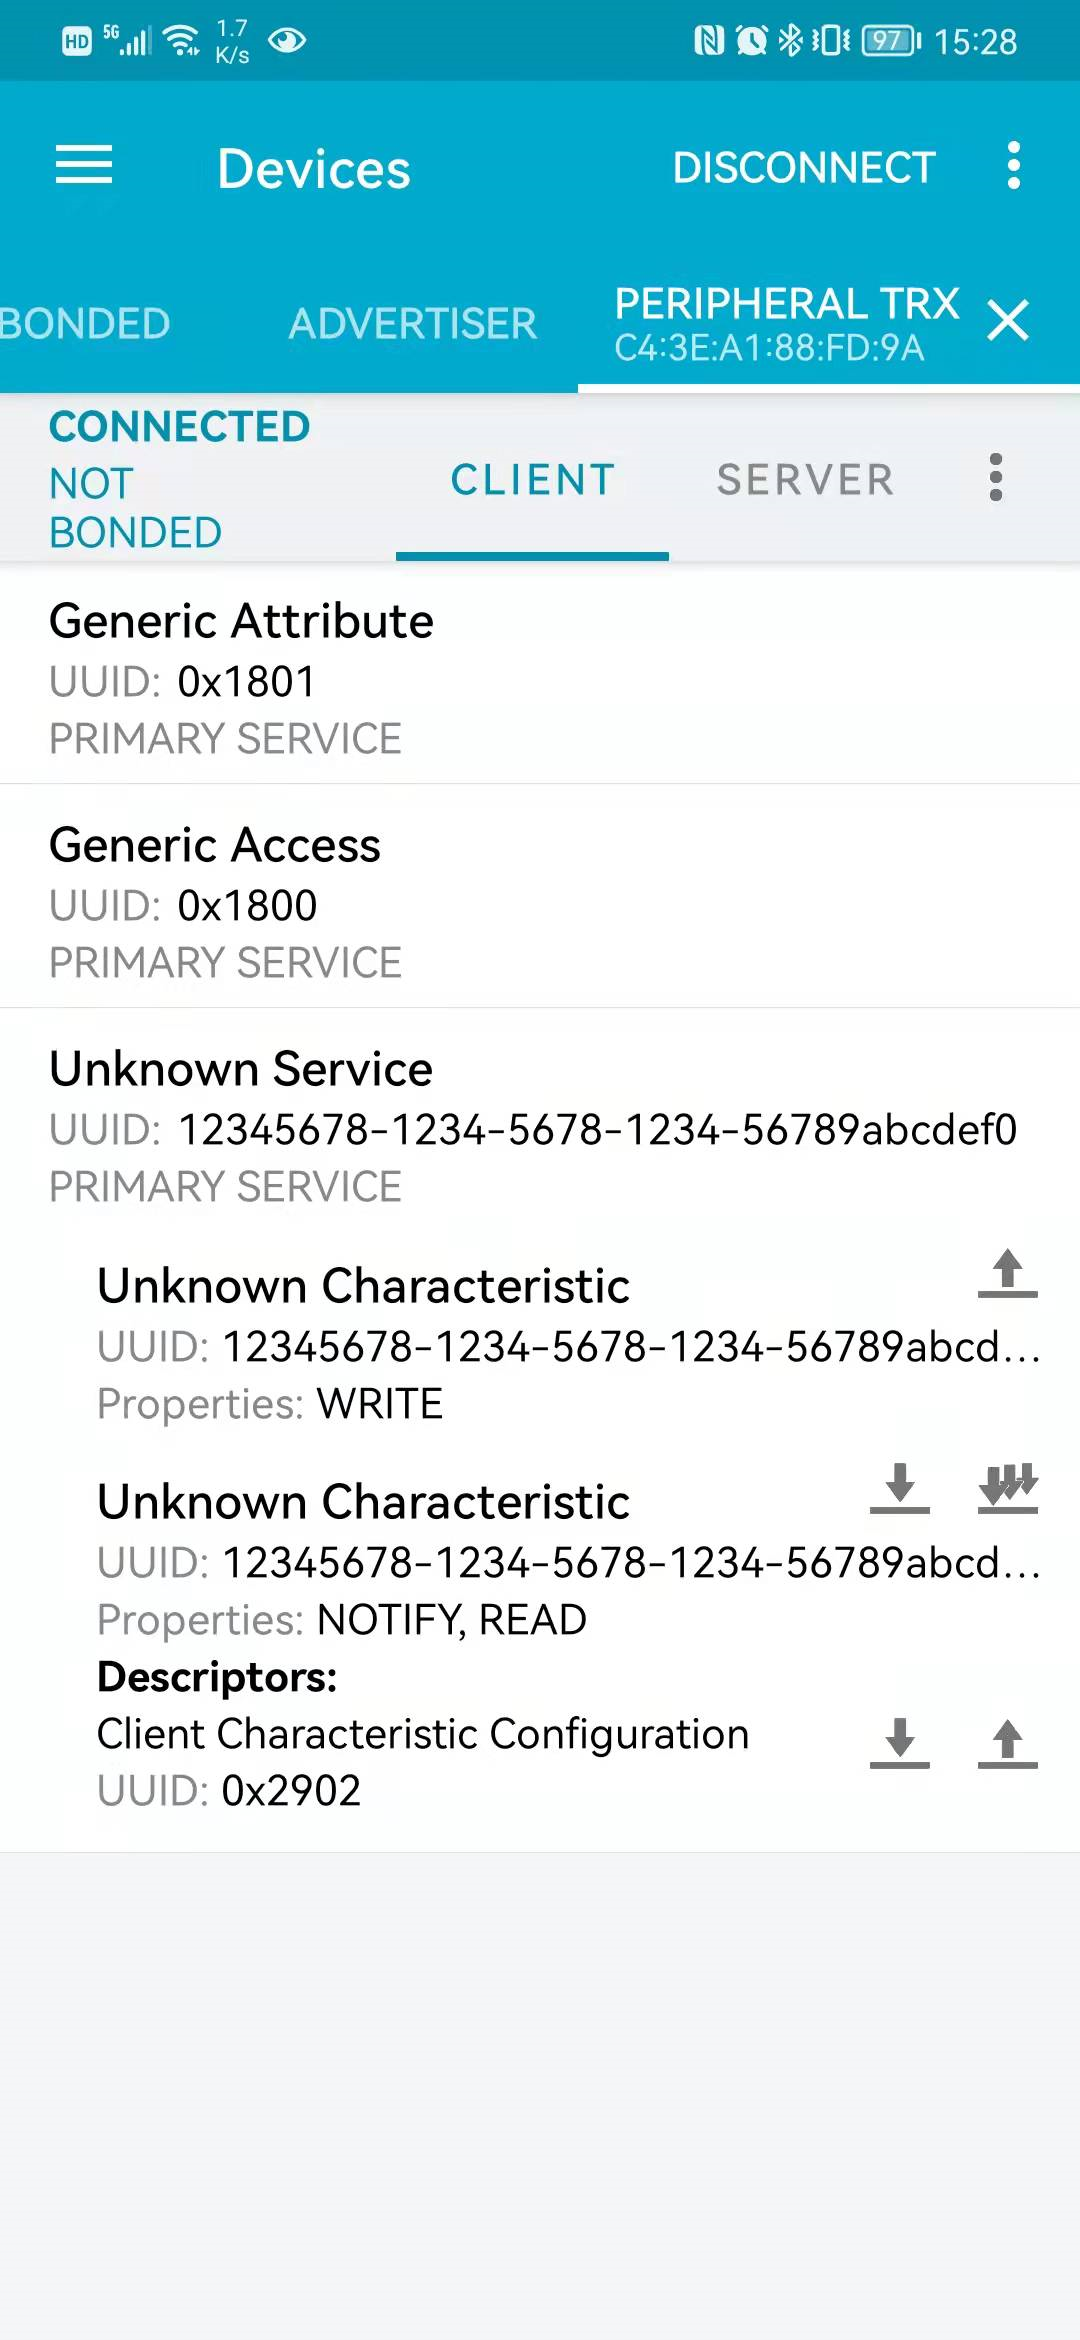
串口工具将打印连接状态变化的信息:
Connected
(3) 写数据
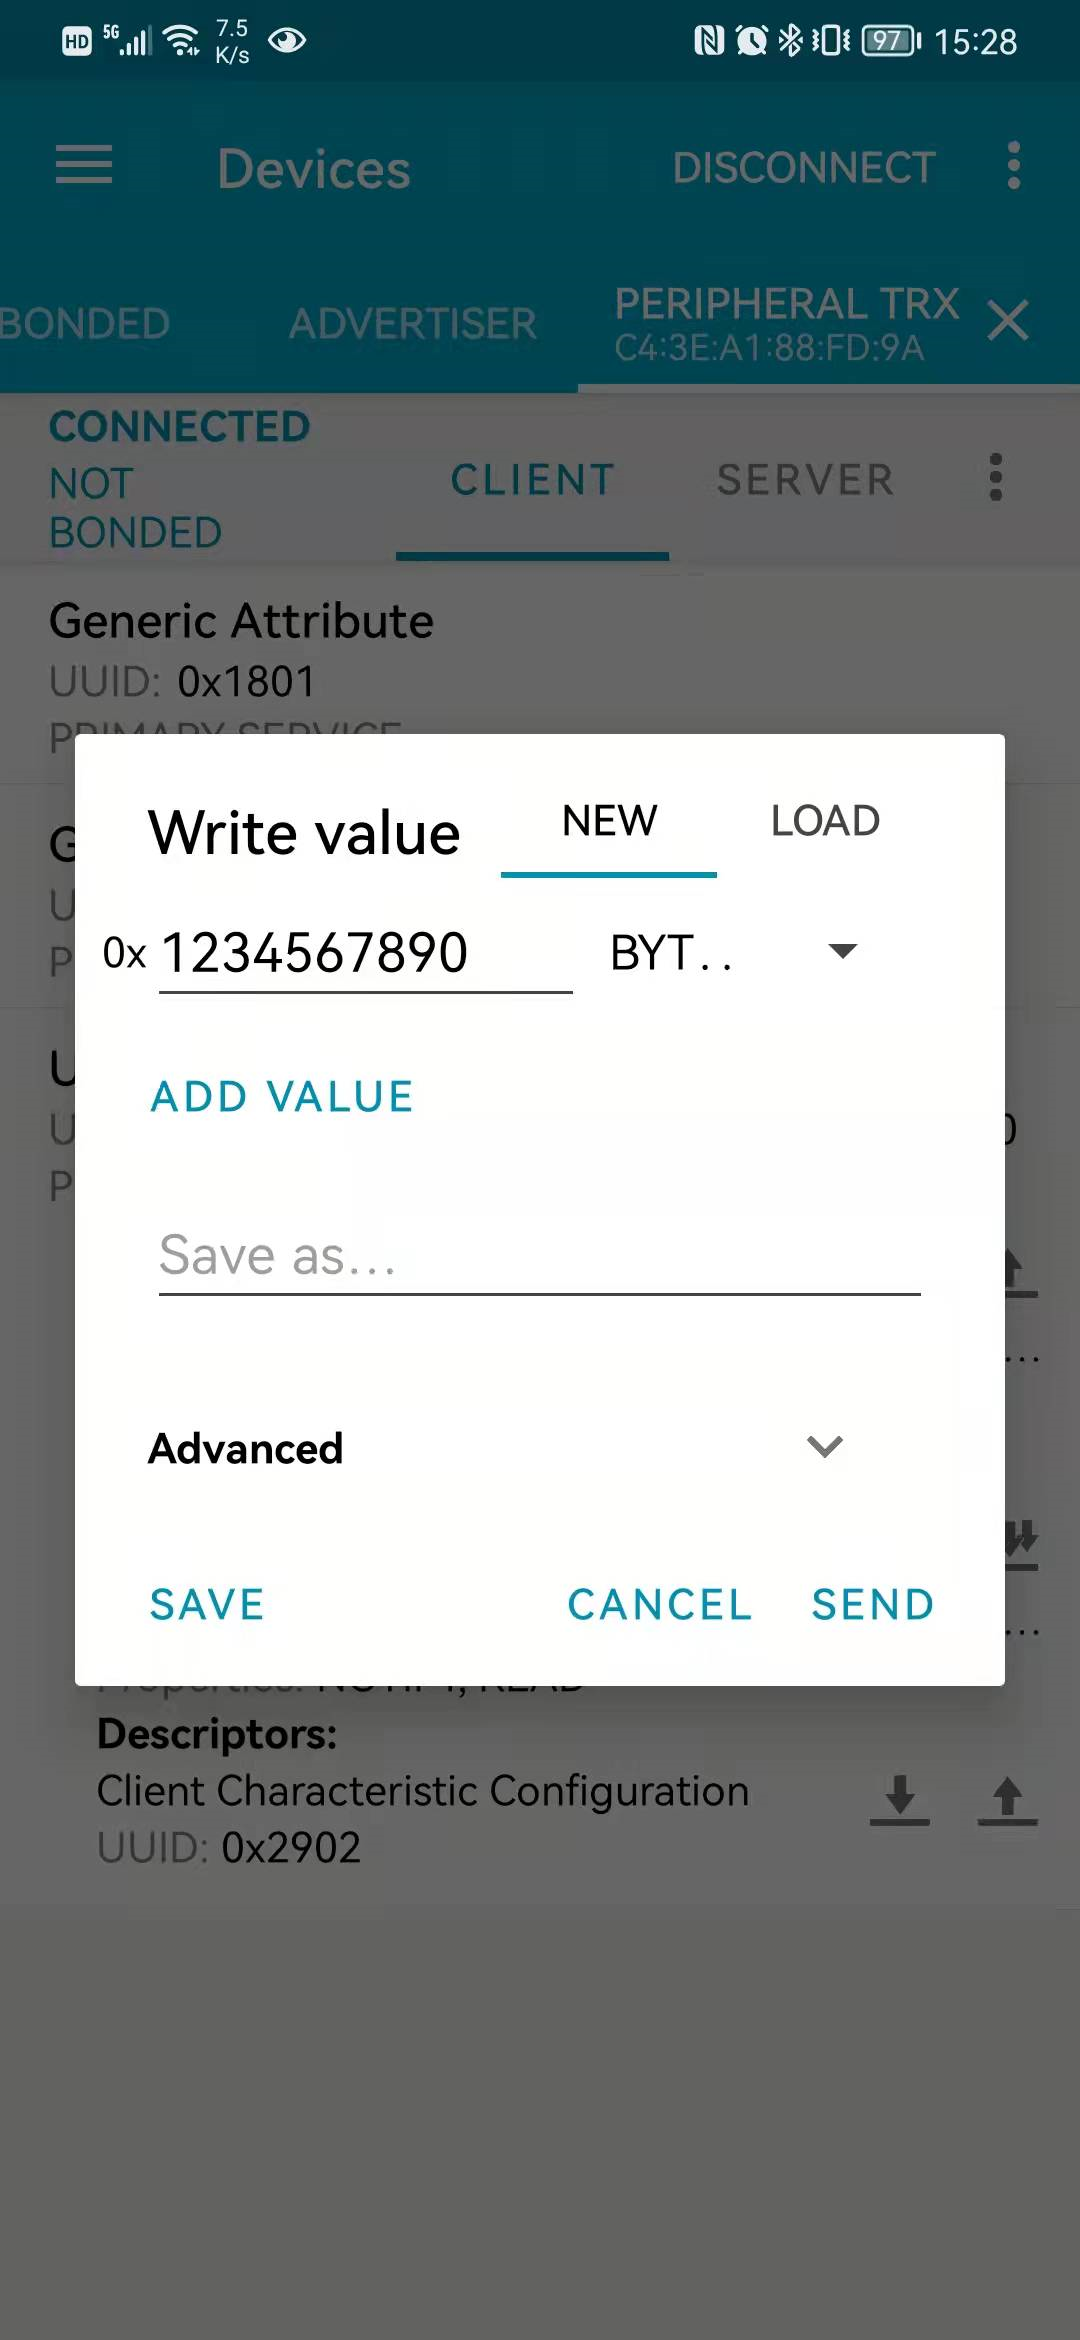
串口工具将打印收到的数据:
write (5): 0x12 0x34 0x56 0x78 0x90
(4) 读数据
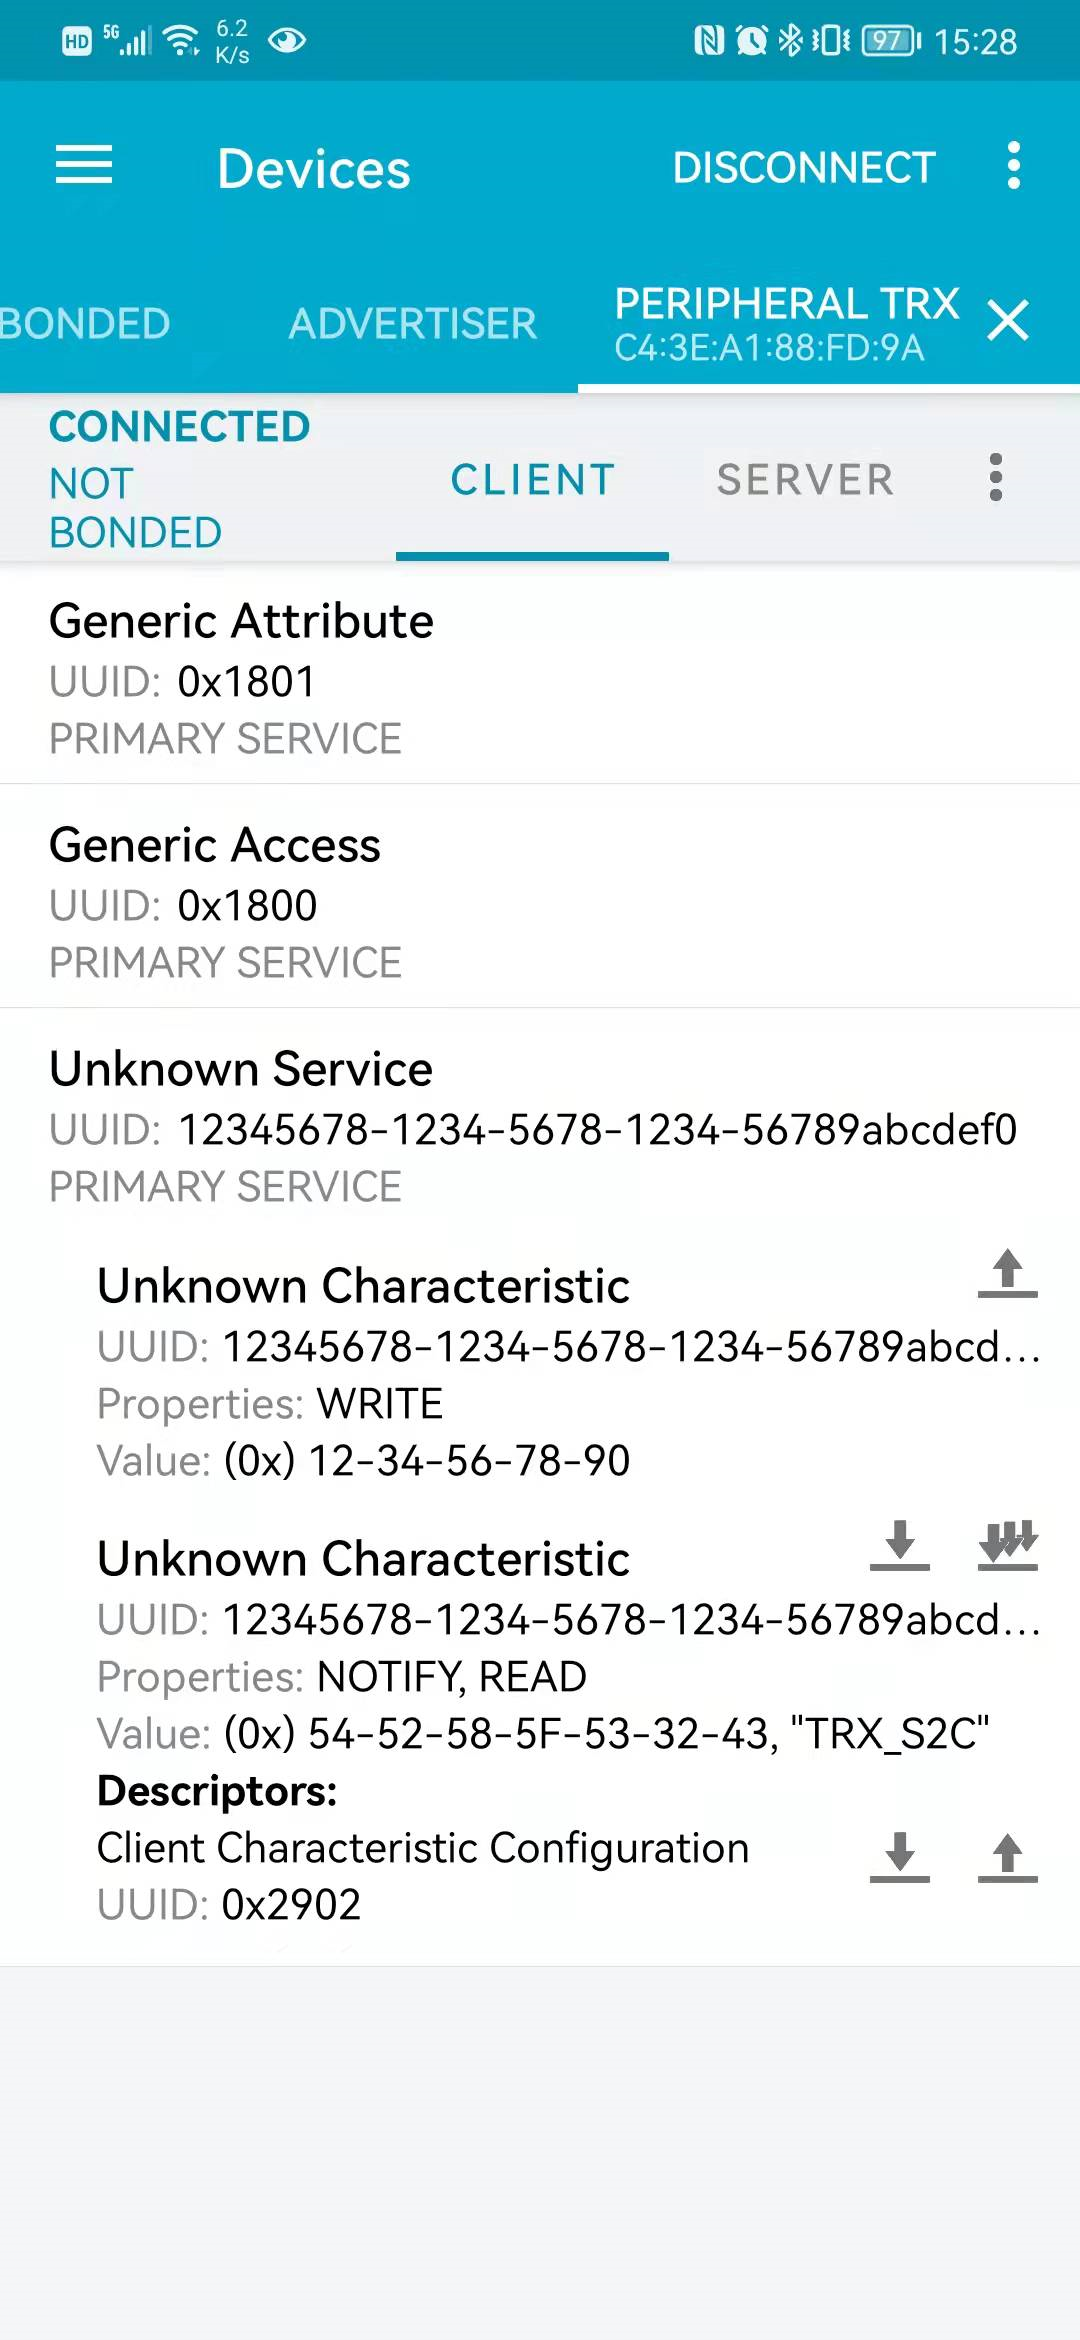
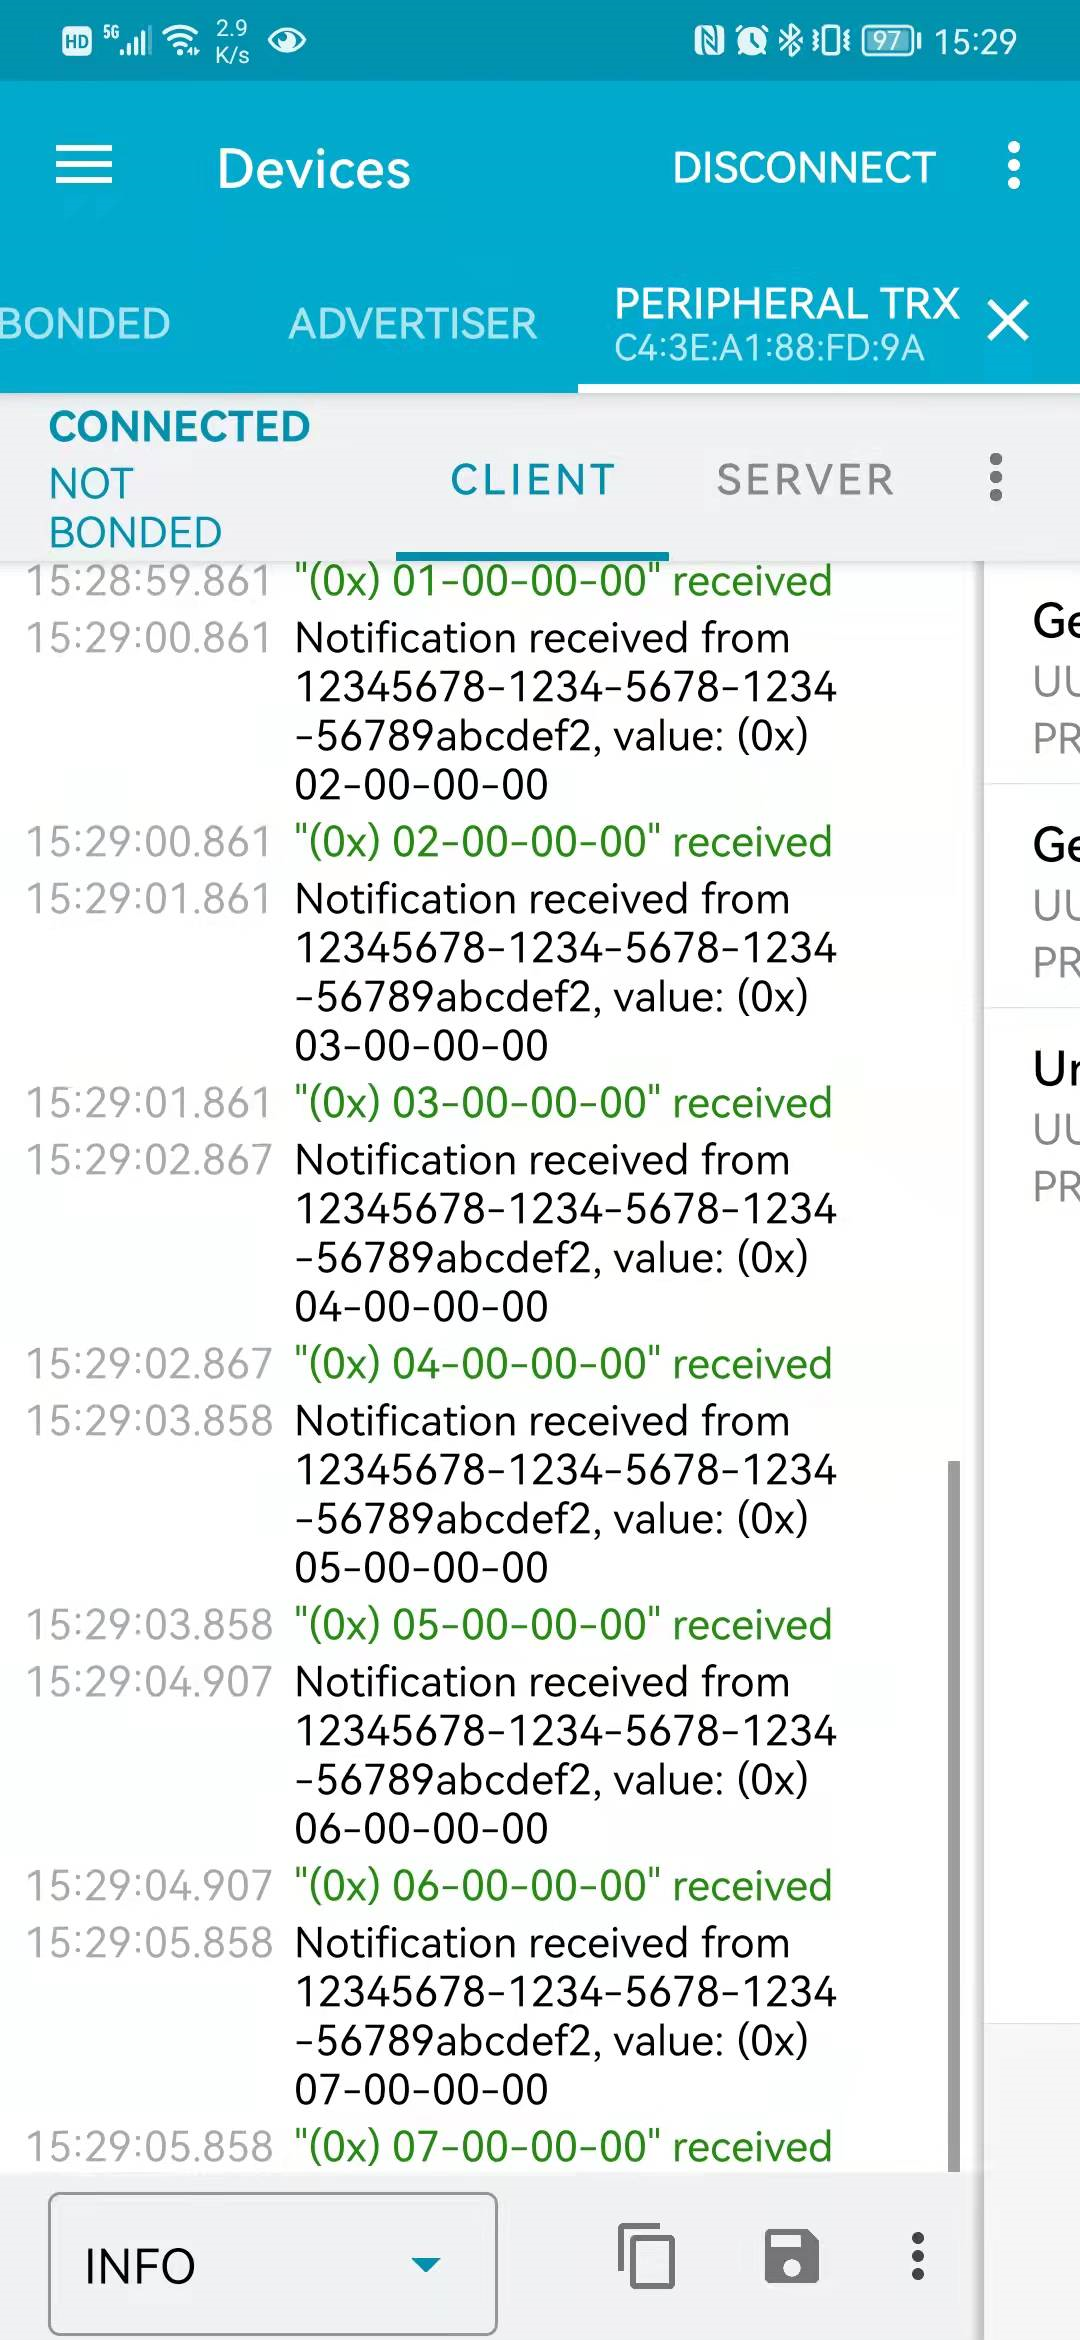
(5) Notify
